Sourdough Pumpkin Scones with Maple Glaze Recipe
These sourdough pumpkin scones are tender, full of fall flavor, and topped with a sweet maple glaze-perfect for a cozy treat any time of year!

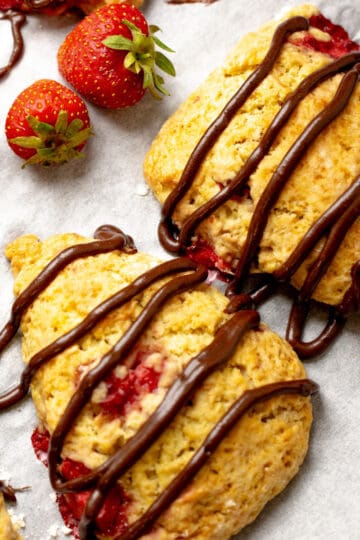
Pumpkin baked goods are something I can enjoy all year long-not just in the fall. I'm a total pumpkin spice latte lover and can't resist anything with pumpkin pie spice in it. These sourdough pumpkin scones are among my absolute favorite treats. Whenever I have pumpkin puree in the fridge, this is one of the first things I make. They're simple, full of flavor, and the maple glaze is the perfect finishing touch. It's the ideal cozy fall bake.
Why You'll Love This Recipe
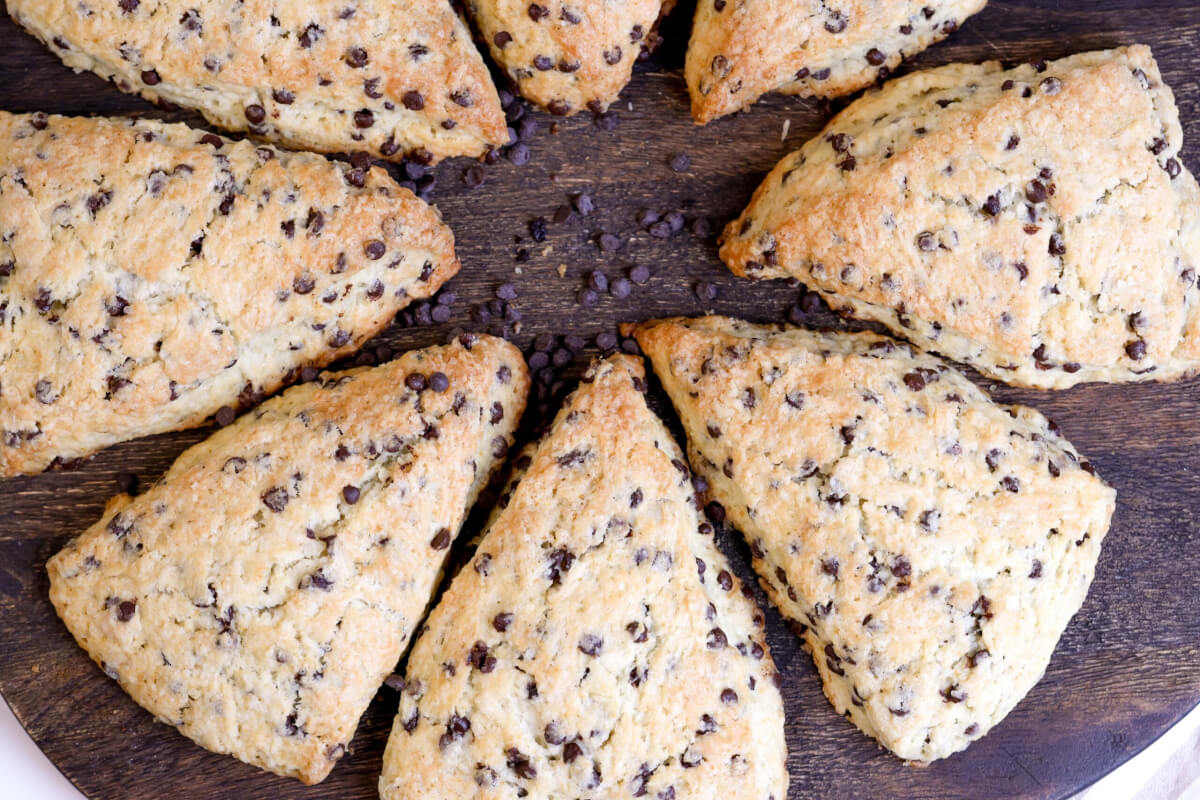
- Soft and Flaky:These sourdough pumpkin scones bake up with crisp golden edges and a tender, fluffy center. The sourdough adds just enough structure to make every bite perfectly light and satisfying.
- Cozy Fall Flavor:
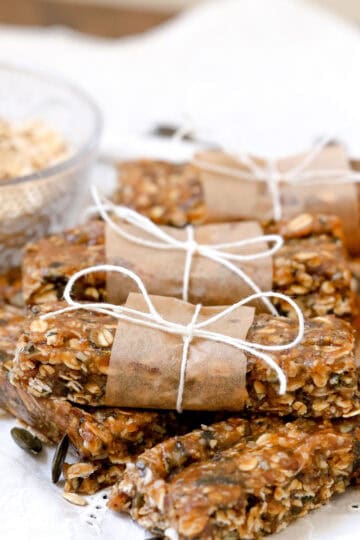
Made with real pumpkin puree, warm cinnamon, and pumpkin pie spice, these scones are like autumn in pastry form. Pair them with a cozy cup of pumpkin spice flavored coffee for the ultimate fall treat. Finished with a maple glaze, they're a seasonal bake you'll want to make again and again. - Sourdough-Friendly: This sourdough pumpkin scones recipe is a great way to use up your sourdough discard (or active starter!). It adds a subtle tang and helps keep the scones soft and moist without overpowering the pumpkin flavor.
What You'll Need
For the Scones:
For the Maple Glaze:
Instructions
- Cut the butter into cubes and pop it in the freezer while preparing the rest of the ingredients.
- In a large bowl, stir together the flour, brown sugar, baking powder, pumpkin pie spice, cinnamon, and salt.
- In a smaller bowl, whisk the egg with the pumpkin puree, sourdough starter, heavy cream, and vanilla.
- Using a pastry blender, cut the frozen butter into the dry mixture until it resembles small pea-sized crumbs.
- Pour the wet ingredients into the dry. Start mixing with a spoon, then gently knead with your hands just until it forms a ball. Don't overmix-it should look a little rough and shaggy.
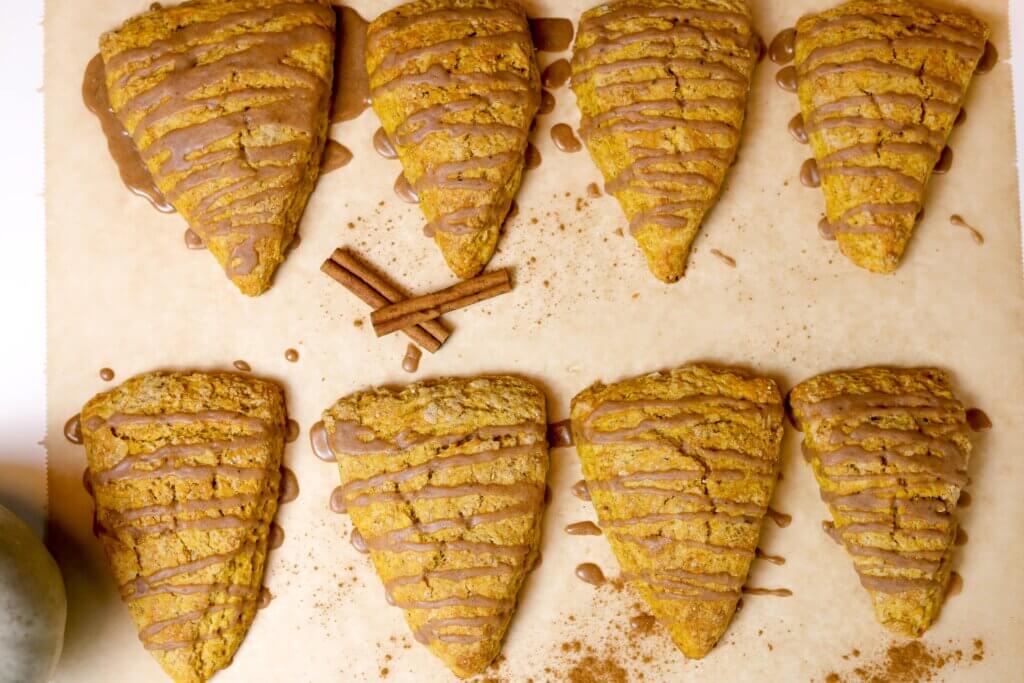
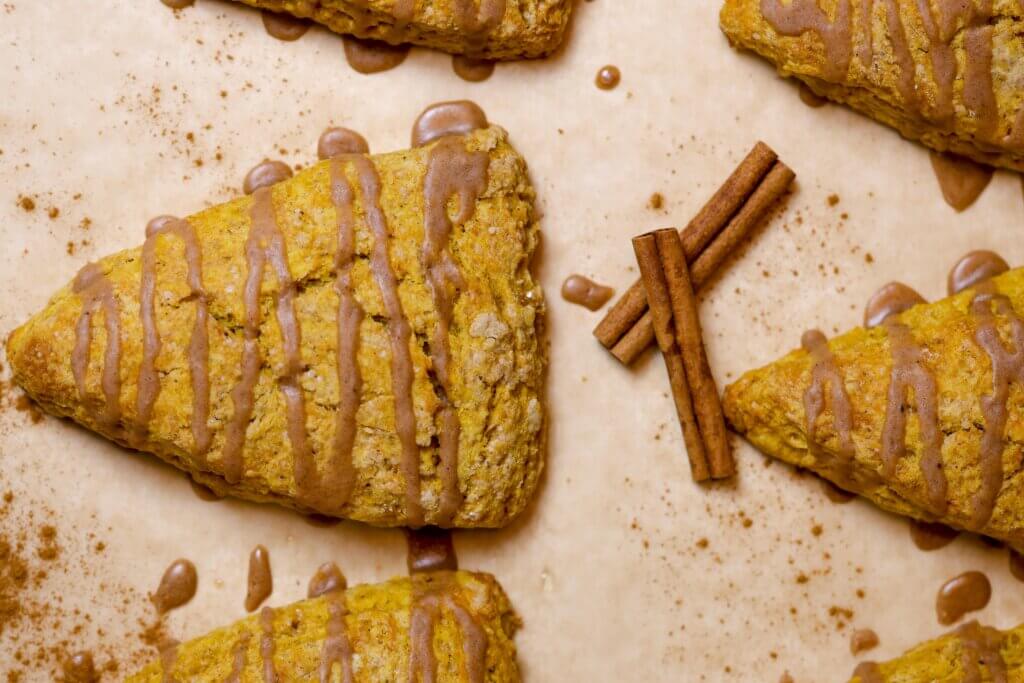
- Place the dough on your work surface and shape it into a round disc about 1 inch (2.5 cm) thick. Cut into eight wedges using a knife.
- Preheat the oven to 400°F (200°C). While it heats, refrigerate the scones for 10-15 minutes. Line your baking sheet with parchment paper.
- When ready, place the chilled scones on the baking sheet, spaced apart. A bench scraper makes transferring easy.
- Bake for 20-25 minutes until golden. Let them cool on a wire rack.
- While cooling, whisk together all glaze ingredients in a small bowl.
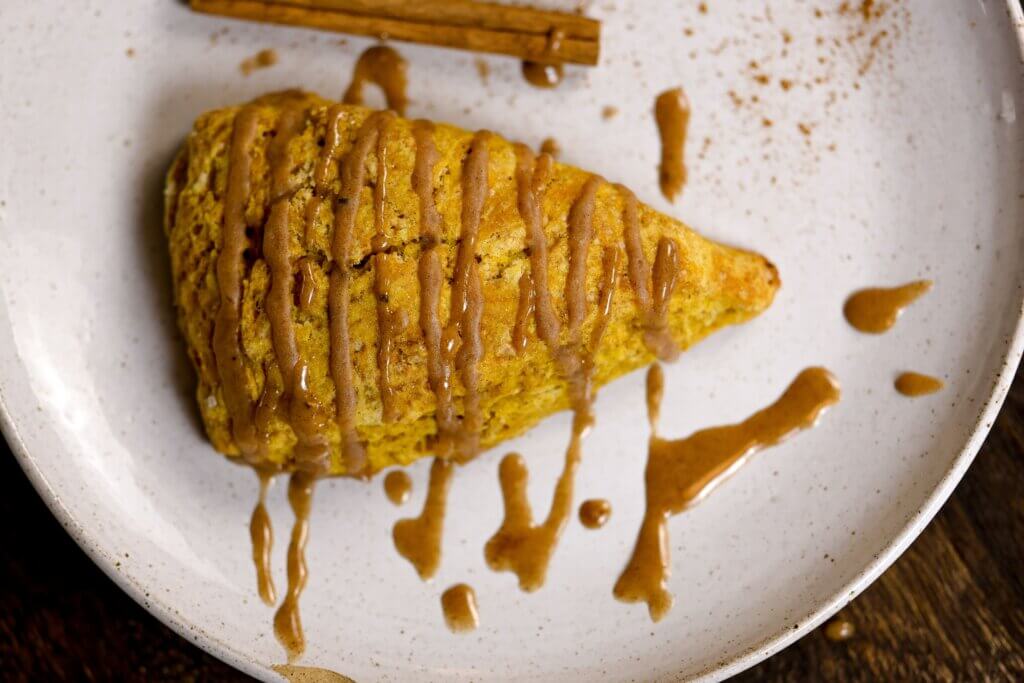
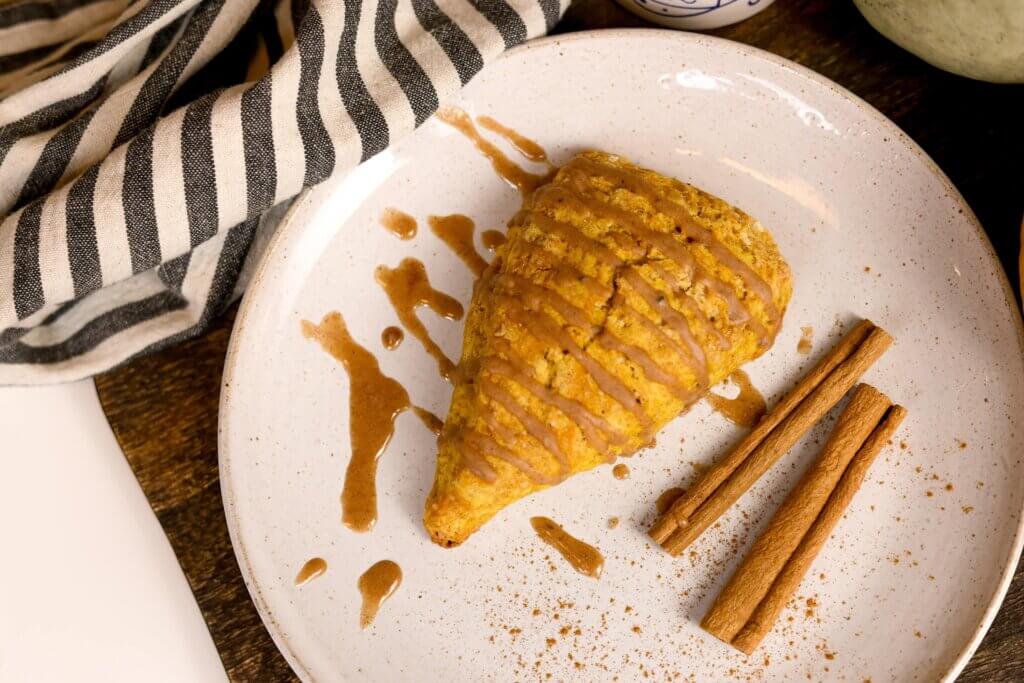
- Drizzle the glaze over the cooled scones.
FAQ
Tips
1. Keep ingredients cold:
Cold butter, egg, and even pumpkin puree help create that signature flaky scone texture. For best results, you can also chill your mixing bowl and tools.
2.Cut butter to coarse crumbs:
When mixing butter into the flour, aim for a coarse, crumbly texture. These pockets of butter steam in the oven, creating light, fluffy layers.
3. Handle dough gently:
Don't overmix or knead the dough too much. Mix just until it comes together to avoid tough scones.
4. Chill before baking:
If your kitchen is warm, chill the shaped scones for about 15 minutes before baking. This helps the butter stay solid and improves the rise.
5. Cut evenly:
Slice scones into equal portions so they bake at the same rate and come out evenly browned.
6. Leave space between scones:
Give them room to expand during baking. Proper spacing helps ensure even browning and air circulation.
7. Check for doneness:
Scones should be golden and feel firm to the touch. A toothpick inserted into the center should come out clean or with just a few moist crumbs.
8. Adjust glaze consistency:
If your glaze is too thick, add a bit of milk. Too thin? Stir in more powdered sugar.
9. Let scones cool before glazing:
Allow scones to cool slightly so the glaze doesn't melt off, but glaze while still a bit warm if you want it to stick well.
Storage
📖 Recipe

Sourdough Pumpkin Scones with Maple Glaze Recipe
Equipment
Ingredients
For the scones
- 113.5 g Butter
- 300 g All-purpose flour
- 110 g Brown sugar
- 10 g Baking powder
- 1 ½ teaspoon Pumpkin pie spice
- 1 teaspoon Cinnamon
- 3 g Salt
- 1 Egg
- 120 g Pumpkin puree
- 120 g Sourdough starter discard or active
- 60 g Heavy cream
- 7.5 g Vanilla extract
Maple Glaze:
- 120 g Powdered sugar
- 2 g Pumpkin pie spice
- 1 g Cinnamon
- 30 g Maple syrup
- 15 g Milk depending on the consistency you want for the glaze
Instructions
- Cut the butter into cubes and pop it in the freezer while preparing the rest of the ingredients.113.5 g Butter
- In a large bowl, stir together the flour, brown sugar, baking powder, pumpkin pie spice, cinnamon, and salt.300 g All-purpose flour, 110 g Brown sugar, 10 g Baking powder, 1 ½ tsp Pumpkin pie spice, 1 tsp Cinnamon, 3 g Salt
- In a smaller bowl, whisk the egg with the pumpkin puree, sourdough starter, heavy cream, and vanilla.1 Egg, 120 g Pumpkin puree, 120 g Sourdough starter discard or active, 60 g Heavy cream, 7.5 g Vanilla extract, 15 g Milk
- Using a pastry blender, cut the frozen butter into the dry mixture until it resembles small pea-sized crumbs.
- Pour the wet ingredients into the dry. Start mixing with a spoon, then gently knead with your hands just until it forms a ball. Don't overmix-it should look a little rough and shaggy.
- Place the dough on your work surface and shape it into a round disc about 1 inch (2.5 cm) thick. Cut into eight wedges using a knife.
- Preheat the oven to 400°F (200°C). While it heats, refrigerate the scones for 10-15 minutes. Line your baking sheet with parchment paper.
- When ready, place the chilled scones on the baking sheet, spaced apart. A bench scraper makes transferring easy.
- Bake for 20-25 minutes until golden. Let them cool on a wire rack.
- While cooling, whisk together all glaze ingredients in a small bowl.120 g Powdered sugar, 2 g Pumpkin pie spice, 30 g Maple syrup, 1 g Cinnamon
- Drizzle the glaze over the cooled scones.
Notes
- Keep ingredients cold - Cold butter, egg, and even pumpkin puree help create that signature flaky scone texture. For best results, you can also chill your mixing bowl and tools.
- Cut butter to coarse crumbs - When mixing butter into the flour, aim for a coarse, crumbly texture. These pockets of butter steam in the oven, creating light, fluffy layers.
- Handle dough gently - Don't overmix or knead the dough too much. Mix just until it comes together to avoid tough scones.
- Chill before baking - If your kitchen is warm, chill the shaped scones for about 15 minutes before baking. This helps the butter stay solid and improves the rise.
- Cut evenly - Slice scones into equal portions so they bake at the same rate and come out evenly browned.
- Leave space between scones - Give them room to expand during baking. Proper spacing helps ensure even browning and air circulation.
- Check for doneness - Scones should be golden and feel firm to the touch. A toothpick inserted into the center should come out clean or with just a few moist crumbs.
- Adjust glaze consistency - If your glaze is too thick, add a bit of milk. Too thin? Stir in more powdered sugar.
- Let scones cool before glazing - Allow scones to cool slightly so the glaze doesn't melt off, but glaze while still a bit warm if you want it to stick well.


Comments
No Comments