Super Soft Sourdough Sandwich Bread Loaf Recipe
This sourdough sandwich bread recipe makes a super soft, fluffy loaf perfect for sandwiches, toast, and everyday baking—better than store-bought!
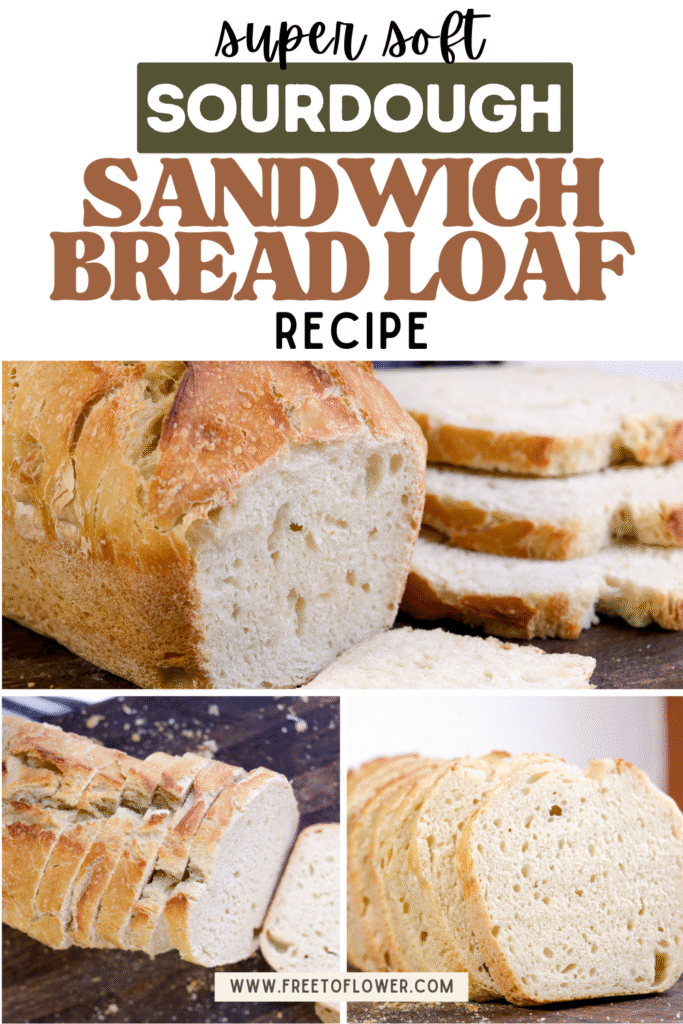
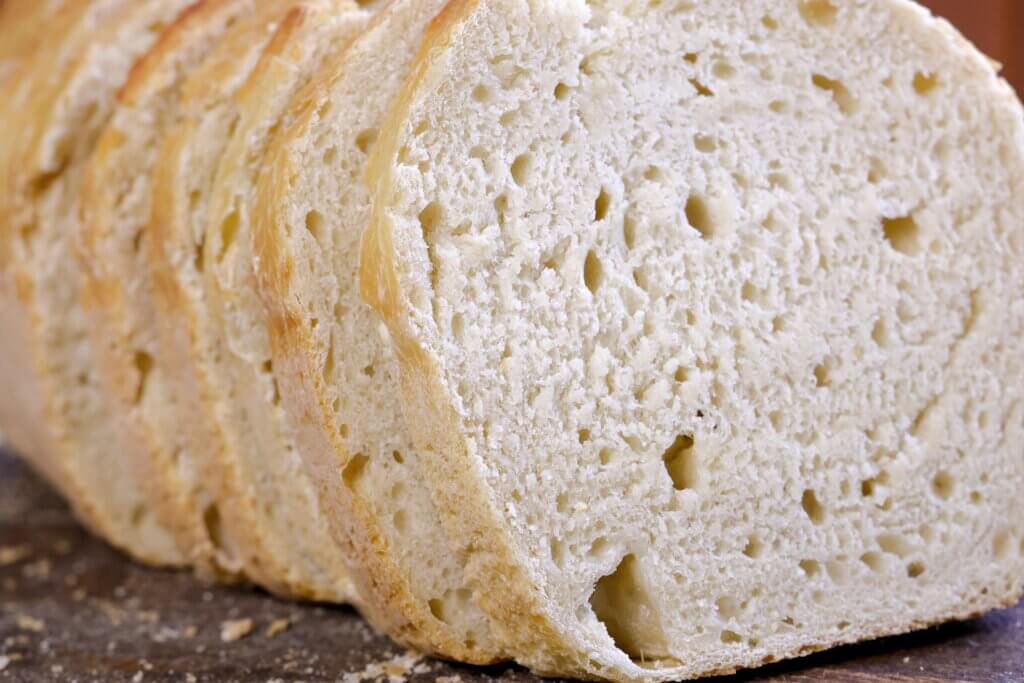
There’s nothing quite like homemade bread, and while I adore baking rustic sourdough loaves, sometimes convenience wins. That’s where this sourdough sandwich bread recipe comes in—it’s soft, fluffy, and perfect for everyday use. Whether you’re making a classic peanut butter and jelly sandwich or just want fresh bread for toast, this loaf beats store-bought every single time. It’s simple to make, and it turns out beautifully even if you’re trying sourdough sandwich bread for the first time.

Why You’ll Love This Recipe
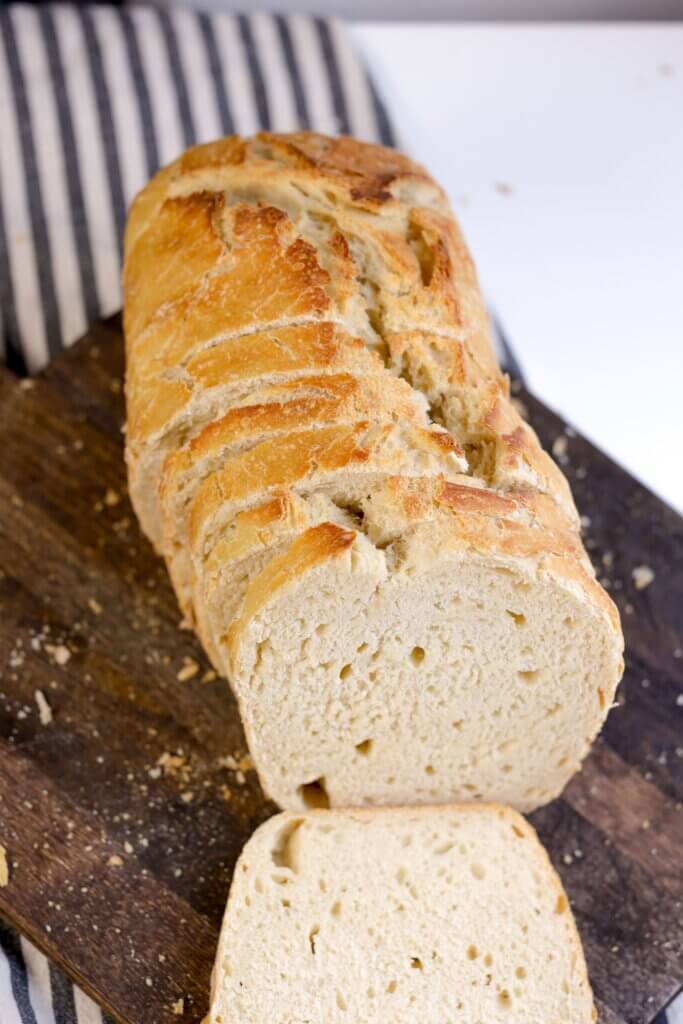
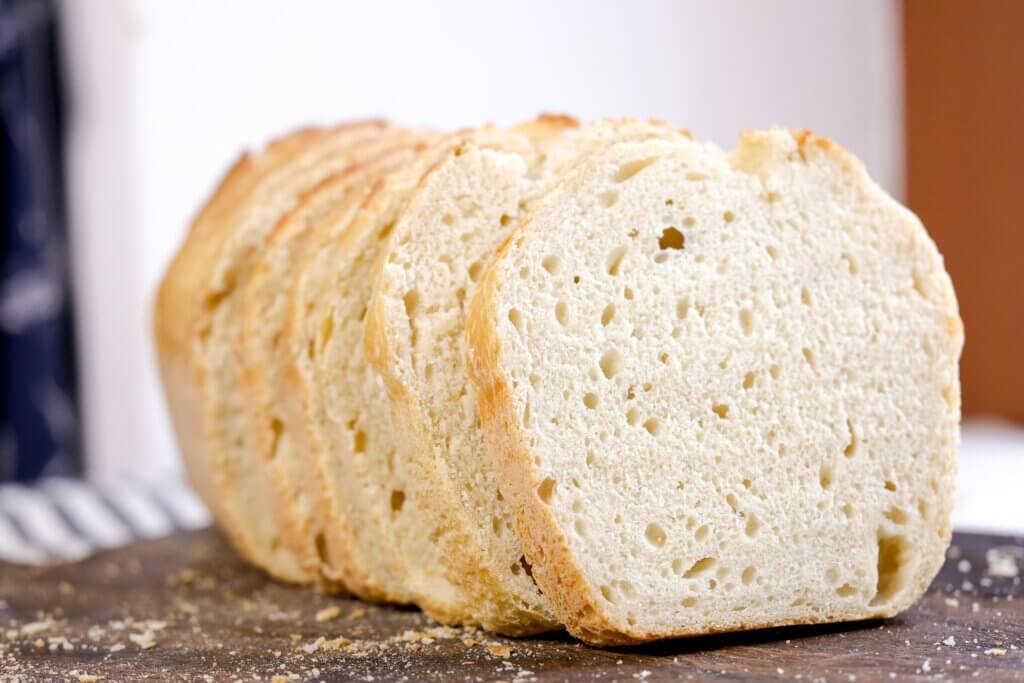
- Soft and fluffy texture – Unlike rustic artisan loaves, this sandwich bread is tender and perfect for everyday use.
- Beginner-friendly – Even if you’re new to sourdough, this recipe is simple to follow. If you’re just starting out, check out my guide on how to make a sourdough starter.
- Perfect for everyday meals – From PB&J to avocado toast, this bread is versatile enough for breakfast, lunch, or dinner.
- Better than store-bought – No additives or preservatives—just wholesome ingredients and rich sourdough flavor.
- Build your sourdough skills – Once you’ve mastered this loaf, you’ll be ready to try more advanced recipes like my step-by-step tutorial on how to make sourdough bread.
What You’ll Need
Tools
Instructions
- Mix the Dough – In a large bowl, whisk together flour and salt. Add starter, water, honey, and oil. Stir until a sticky dough forms. Use a stand mixer with a dough hook or mix by hand.
- Knead the Dough – Knead for 8–10 minutes in a mixer, or 10–12 minutes by hand, until smooth and elastic. The dough should feel tacky but not overly sticky.
- First Rise – Place dough in a lightly oiled bowl, cover, and let it rise for 4–6 hours at room temperature until doubled.
- Shape the Loaves – Gently deflate, divide into two equal portions (or one large loaf), shape into tight logs, and place seam-side down in greased loaf pans.
- Second Rise – Cover and refrigerate overnight, or let rise at room temperature for 2–4 hours until dough crowns about 1 inch above the pan edge.
- Bake – Preheat oven to 400°F (200°C). Brush tops with butter or oil for a soft crust (optional). Bake 35–40 minutes until golden and internal temp hits 190°F (88°C).
- Cool – Remove from pans and cool on a wire rack for 2–3 hours before slicing.
FAQ
Tips
1. Starter Strength
Use an active, bubbly starter that’s been fed within 4–12 hours. A weak starter will give you a flat loaf.
2. Water Temperature
Stick with warm water (80–90°F). Too hot, and you’ll harm the yeast.
3. Sticky Dough
Expect a wet dough. Use a bench scraper or wet hands instead of adding more flour.
4. Kneading
Knead until the dough is smooth and stretchy. It should pass the windowpane test.
5. First Rise
Let the dough rise in a warm spot (70–75°F). It’s ready when it has doubled, not just by the clock.
6. Shaping
Roll tightly into a log and seal the seam so the loaf holds its shape.
7. Second Rise
The dough should rise about 1 inch above the pan before baking. If it springs back slowly when poked, it’s ready.
8. Oven Steam
Add a tray of hot water for the first 10 minutes for a better rise and crust.
9. Cooling
Don’t slice too soon. Wait 2–3 hours so the crumb sets properly.
10. Flavor Boost
The honey and oil make the bread tender and slightly sweet—don’t skip them.
Storage

Super Soft Sourdough Sandwich Bread Loaf Recipe
Equipment
- Large mixing bowl
- Measuring Cups and Spoons or Kitchen Scale
- Wooden spoon or spatula
- Kitchen Aid
- Sandwich Bread Loaf Pan
- Bench scraper
- Proofing Box
- Bread lame
Ingredients
- 1350 g white bread flour 11 ¼ cups
- 300 g active sourdough starter 1 ¼ cups
- 650 g warm water 2 ¾ cups
- 50 g honey 2 ½ tbsp
- 40 g olive/avocado oil 3 tbsp
- 20 g sea salt 3 ½ tsp
Instructions
- Mix the Dough – In a large bowl, whisk together flour and salt. Add starter, water, honey, and oil. Stir until a sticky dough forms. Use a stand mixer with a dough hook or mix by hand.
- Knead the Dough – Knead for 8–10 minutes in a mixer, or 10–12 minutes by hand, until smooth and elastic. The dough should feel tacky but not overly sticky.
- First Rise – Place dough in a lightly oiled bowl, cover, and let it rise for 4–6 hours at room temperature until doubled.
- Shape the Loaves – Gently deflate, divide into two equal portions (or one large loaf), shape into tight logs, and place seam-side down in greased loaf pans.
- Second Rise – Cover and refrigerate overnight, or let rise at room temperature for 2–4 hours until dough crowns about 1 inch above the pan edge.
- Bake – Preheat oven to 400°F (200°C). Brush tops with butter or oil for a soft crust (optional). Bake 35–40 minutes until golden and internal temp hits 190°F (88°C).
- Cool – Remove from pans and cool on a wire rack for 2–3 hours before slicing.
Notes
Tips
-
Starter Strength – Use an active, bubbly starter that’s been fed within 4–12 hours. A weak starter will give you a flat loaf.
-
Water Temperature – Stick with warm water (80–90°F). Too hot, and you’ll harm the yeast.
-
Sticky Dough – Expect a wet dough. Use a bench scraper or wet hands instead of adding more flour.
-
Kneading – Knead until the dough is smooth and stretchy. It should pass the windowpane test.
-
First Rise – Let the dough rise in a warm spot (70–75°F). It’s ready when it has doubled, not just by the clock.
-
Shaping – Roll tightly into a log and seal the seam so the loaf holds its shape.
-
Second Rise – The dough should rise about 1 inch above the pan before baking. If it springs back slowly when poked, it’s ready.
-
Oven Steam – Add a tray of hot water for the first 10 minutes for a better rise and crust.
-
Cooling – Don’t slice too soon. Wait 2–3 hours so the crumb sets properly.
- Flavor Boost – The honey and oil make the bread tender and slightly sweet—don’t skip them.
Storage
- Short-Term Storage (1-3 Days):Once the loaves have cooled completely (2-3 hours on a wire rack), wrap them in a clean kitchen towel or place them in a breathable bread bag (like a cotton or linen bag). Store at room temperature in a cool, dry spot away from direct sunlight or heat sources. This keeps the crust soft and the crumb fresh without trapping too much moisture.
- Longer-Term Storage (Up to 1 Week):For a few extra days, place the cooled bread in a plastic bag or airtight container. Seal it well to retain moisture, but note the crust may soften over time. Keep it at room temperature—refrigeration can dry it out faster due to starch retrogradation.
- Freezing (Up to 3 Months):To store longer, wrap each cooled loaf tightly in plastic wrap, then in aluminum foil or a freezer-safe bag to prevent freezer burn. Label with the date. Freeze whole or pre-slice for convenience. Thaw at room temperature (still wrapped) for a few hours, or pop slices directly into a toaster or oven.
- Reviving Stale Bread: If the bread starts to firm up after a few days, sprinkle the crust lightly with water and warm it in a 350°F (175°C) oven for 5-10 minutes. This refreshes the texture without sogginess.
- Avoid Humidity: Don’t store in a humid spot (like near the stove) or in a sealed bag while still warm—moisture buildup can lead to mold. Check periodically; if you spot any, discard the loaf.


This article may contain affiliate links, which means I make a small commission at no extra cost to you. As an Amazon Associate, I earn from qualifying purchases at no extra cost to you. You can read the full disclosure policy.