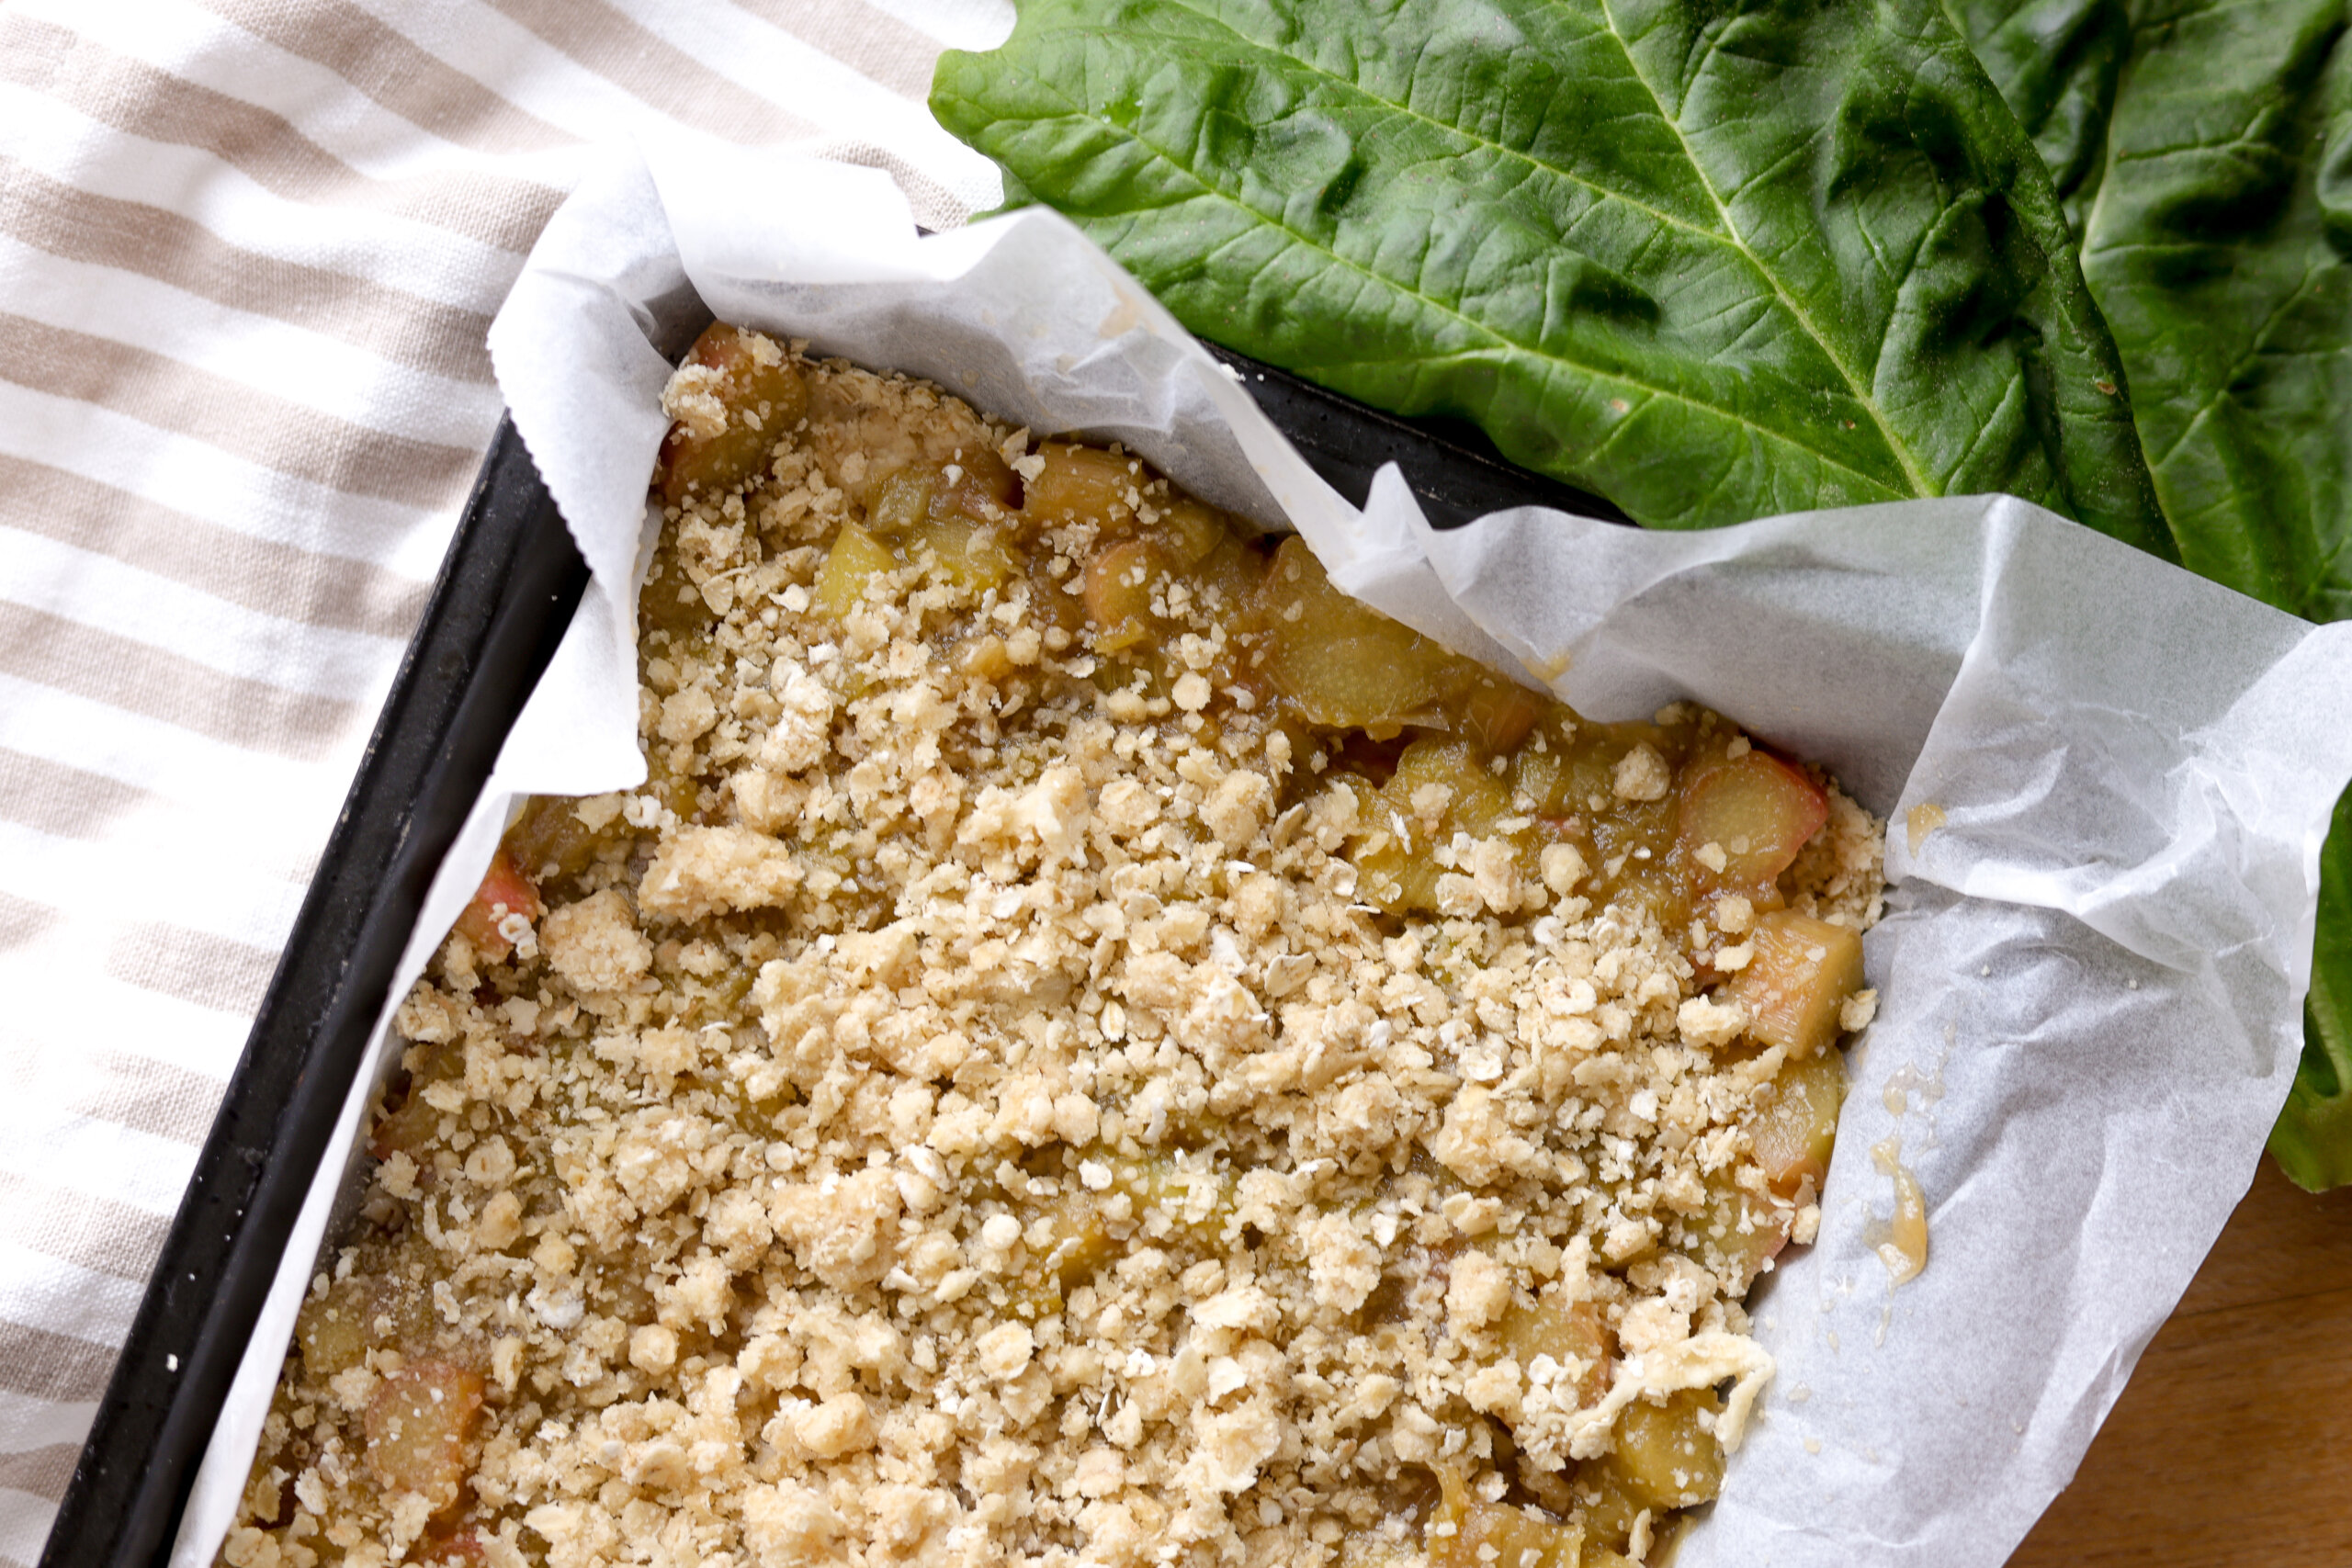
Rhubarb Oat Bars with Sugar Cinnamon Topping {Easy}
Rhubarb oat bars: Discover this easy recipe with a delicious sugar cinnamon topping. Perfect for a sweet treat or snack that everyone will love!

I was delighted when a friend gifted me a bunch of fresh rhubarb in early spring. Making a mental note to make sure to plant some of my own rhubarb for next year so that I can make the most of rhubarb season. I got to the kitchen right after that. I make several different rhubarb recipes, but these Rhubarb Oat Bars are one of our favorite rhubarb desserts. You can whip up this great recipe in a few minutes, and the whole family will enjoy them. You can also adjust the amount of sugar in this recipe, and take it from a dessert recipe to a healthy snack.

Why You'll Love This Recipe
- This Rhubarb Oat Bars recipe made with sugar cinnamon topping is so simple to make. It uses only natural ingredients that you probably already have in your pantry.
- The whole thing is very fast to make. Your kids can help and you will have a delicious afternoon treat ready in no time.
- Rhubarb has a number of nutritional benefits that this recipe allows you to harness
- Rhubarb is so versatile! If you want another, delicious way to prepare it, try this Rhubarb Crisp Recipe
Join me as I choose to see the beauty everywhere around me during those early summer days at the homestead. From baking delicious Rhubarb Crisp & Rhubarb Oat Bars to making a Wattle Fence.

Instructions
Prep
- Preheat oven to 350F (180C)
- Line the bottom of a baking dish with parchment paper
Make Filling
- In a saucepan add the chopped rhubarb, sugar, water and lemon juice.
- Simmer on low-medium heat for about 10 minutes. The rhubarb should soften, but still maintain it's shape.
- Turn off the heat, and let rhubarb mixture rest.
Make Oat Crust
- In a large bowl, mix the flour, oats, sugar and salt together
- Stir in the melted butter. Mix until combined.
- Set ½ cup of the oat mixture aside for later.
- Add the remaining oat mixture to your prepared baking pan. Press the mixture firmly and evenly into the bottom the pan.
Mix the Topping
- In a small bowl, mix together the sugar and cinnamon
Assemble
- Spread the cooked rhubarb mixture evenly over the oat crust.
- Sprinkle the ½ cup of oat mixture you had set aside, over the top of the rhubarb.
- Sprinkle the top with cinnamon and sugar mixture
- Bake for 1 hour, until the top is nice and golden and the rhubarb is bubbling.
- Allow the entire thing to cool for at least 2 hours before cutting into squares.

FAQ

Tips
1. Choosing Rhubarb:
- Freshness: Use fresh, firm rhubarb stalks for the best texture and flavor. If using frozen rhubarb, thaw and drain it thoroughly to remove excess moisture.
2. Preparing the Rhubarb:
- Even Slices: Cut the rhubarb into evenly sized pieces, about ½ inch thick, to ensure uniform cooking and a consistent texture in the bars.
3. Enhancing Flavor:
- Balancing Tartness: Rhubarb is naturally tart, so adjust the amount of sugar to your taste preference. Adding a splash of vanilla extract or lemon juice can enhance the flavor profile.
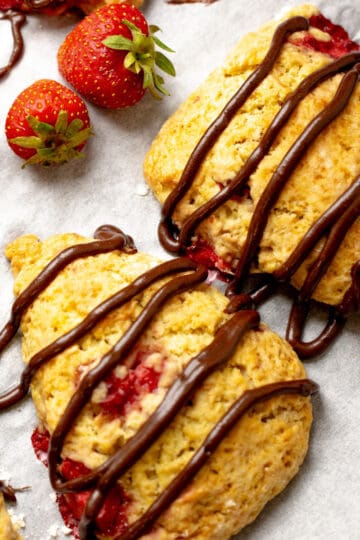
- Complementary Fruits: Consider adding strawberries or apples for added sweetness and flavor.
4. Cooling and Cutting:
- Cooling: Allow the bars to cool completely in the pan before cutting to ensure they hold their shape.
- Cutting: Use a sharp knife to cut into squares or rectangles for neat, even pieces.
5. Dietary Adjustments:
- Gluten-Free: Use gluten-free oats and flour to make the bars gluten-free.
- Vegan: Substitute butter with a vegan alternative or coconut oil for vegan bars.
6. Serving Suggestions:
- With Ice Cream: Serve warm with vanilla ice cream or whipped cream for an extra indulgent treat.
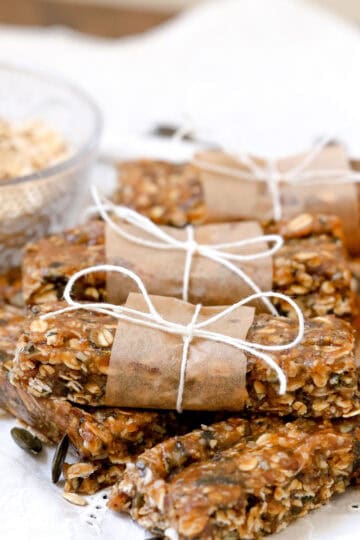
- As a Snack: Enjoy as a snack or quick breakfast option.
Storage
📖 Recipe
Rhubarb Oat Bars with Sugar Cinnamon Topping
Equipment
- Baking Dish
Ingredients
Tart Rhubarb Filling
- 480 g chopped rhubarb stalks
- 110 g brown sugar
- 1 tablespoon water
- 1 tablespoon lemon juice
Oat Crust
- 150 g all purpose flour
- 115 g quick oats (or instant oats)
- 150 g brown sugar
- ¼ teaspoon salt
- 115 g unsalted butter
Topping
- 2 tbs brown sugar
- 2 teaspoon ground cinnamon
Instructions
Prep
- Preheat oven to 350F (180C)
- Line the bottom of a baking dish with parchment paper
Make Filling
- In a saucepan add the chopped rhubarb, sugar, water and lemon juice.480 g chopped rhubarb stalks, 1 tbsp water, 1 tbsp lemon juice
- Simmer on low-medium heat for about 10 minutes. The rhubarb should soften, but still maintain it's shape.
- Turn off the heat, and let rhubarb mixture rest.
Make Oat Crust
- In a large bowl, mix the flour, oats, sugar and salt together110 g brown sugar, 150 g all purpose flour, ¼ tsp salt, 115 g quick oats (or instant oats)
- Stir in the melted butter. Mix until combined.115 g unsalted butter
- Set ½ cup of the oat mixture aside for later.
- Add the remaining oat mixture to your prepared baking pan. Press the mixture firmly and evenly into the bottom the pan.
Mix the Topping
- In a small bowl, mix together the sugar and cinnamon150 g brown sugar, 2 tsp ground cinnamon
Assemble
- Spread the cooked rhubarb mixture evenly over the oat crust.
- Sprinkle the ½ cup of oat mixture you had set aside, over the top of the rhubarb.
- Sprinkle the top with cinnamon and sugar mixture2 tbs brown sugar
- Bake for 1 hour, until the top is nice and golden and the rhubarb is bubbling.
- Allow the entire thing to cool for at least 2 hours before cutting into squares.
Video
Notes
1. Choosing Rhubarb:
- Freshness: Use fresh, firm stalks for best results. If using frozen rhubarb, thaw and drain thoroughly.
2. Preparing the Rhubarb:
- Even Slices: Cut into ½-inch pieces for uniform cooking and texture.
3. Enhancing Flavor:
- Balancing Tartness: Adjust sugar to taste; add vanilla extract or lemon juice for flavor.
- Complementary Fruits: Add strawberries or apples for added sweetness.
4. Cooling and Cutting:
- Cooling: Cool completely in the pan before cutting.
- Cutting: Use a sharp knife for clean, even pieces.
5. Dietary Adjustments:
- Gluten-Free: Use gluten-free oats and flour.
- Vegan: Substitute butter with a vegan alternative or coconut oil.
6. Serving Suggestions:
- With Ice Cream: Serve warm with vanilla ice cream or whipped cream.
- As a Snack: Enjoy as a snack or quick breakfast.
Storage
1. Room Temperature:
- Store cooled bars in an airtight container at room temperature for 1-2 days.
2. Refrigeration:
- Store in an airtight container in the refrigerator for up to 4-5 days.
3. Freezing:
- Preparation: Cool bars completely.
- Wrapping: Wrap individually or as a batch in plastic wrap.
- Storage: Place in a freezer-safe container or zip-top bag for up to 2-3 months.
- Thawing: Thaw in the refrigerator overnight or reheat in the oven at a low temperature until warmed through.


Comments
No Comments