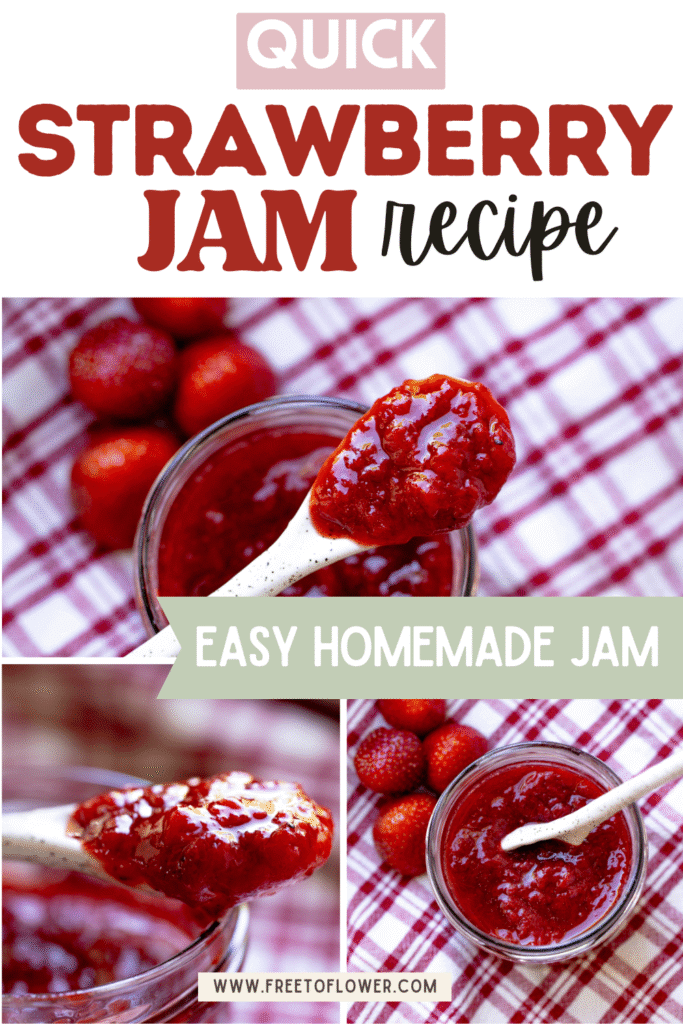
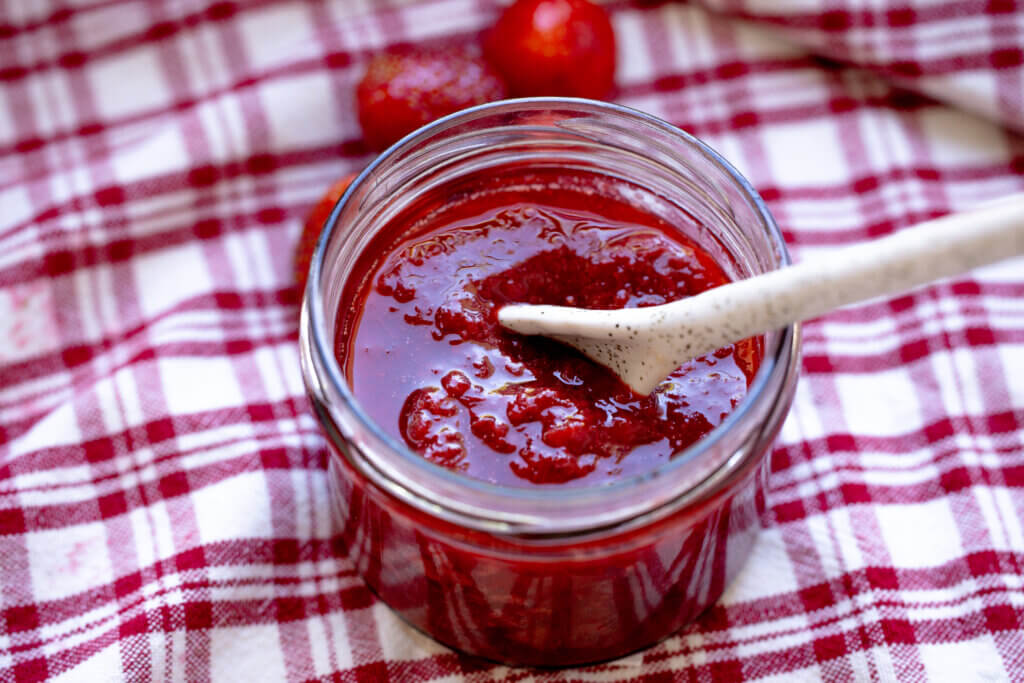
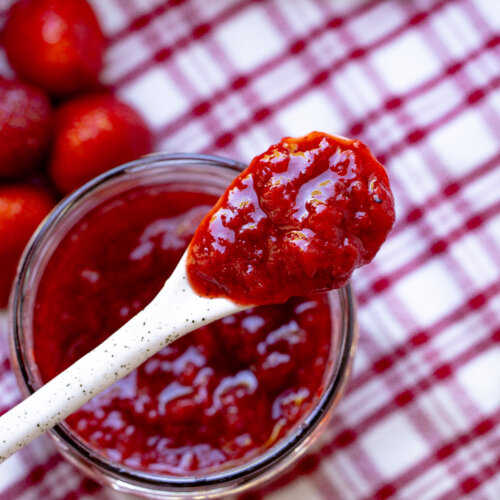
Quick Strawberry Jam Recipe (Easy Homemade Jam)
Quick Strawberry Jam Recipe made with fresh berries, sugar, and Gelfix. Ready in minutes and perfect for spreading, swirling, or gifting.
When strawberry season shows up, it’s not unusual for my kitchen to smell like fresh strawberries all day. There’s still piles on the counter, even though we’ve already eaten more than our fair share. That’s when I pull out this homemade strawberry jam recipe. It’s quick and gives me jars of real strawberry flavor every time. It hasn’t failed me once, and if you follow the steps and keep my tips in mind, I’m sure it won’t fail you either.
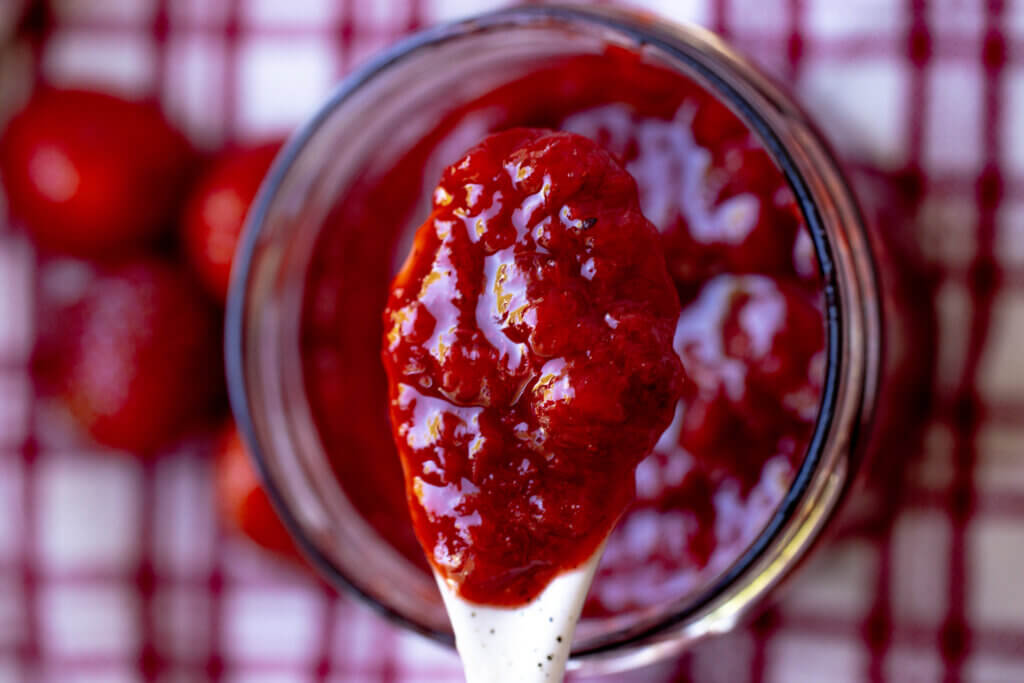
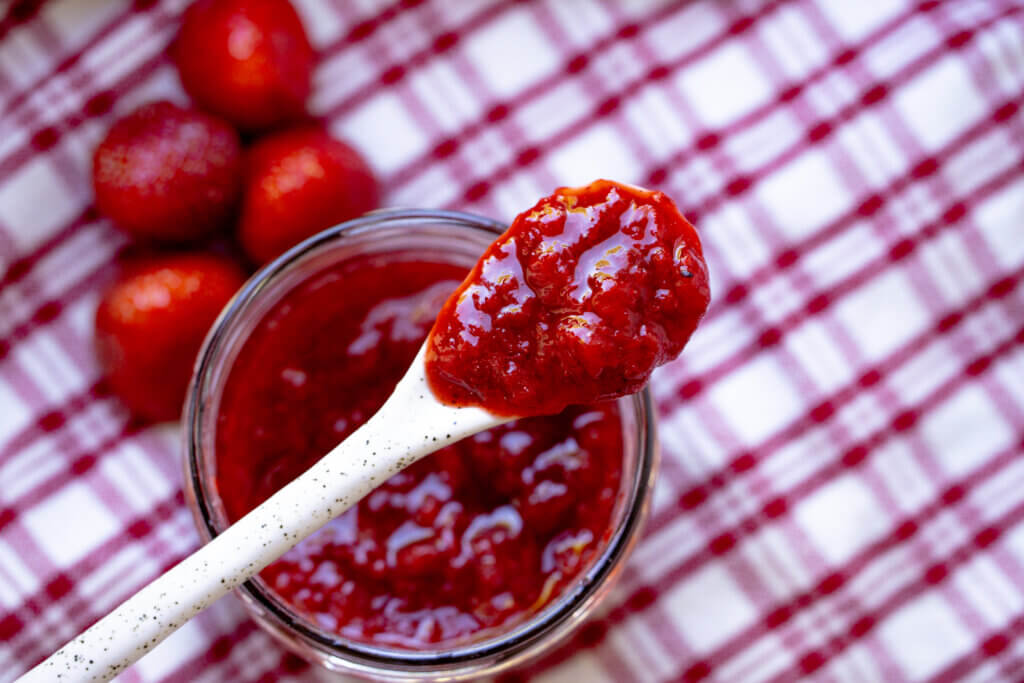
It’s pretty straightforward: chop the strawberries, stir in the sugar and Gelfix Super, and bring everything to a boil. That’s it. No lemon juice needed or second-guessing whether you added enough pectin. In just a few minutes on the stove, you’ll have hot, thick, deep red jam ready for the jars. I gave up store-bought jam a few years ago thanks to the little patch that keeps on giving.
You’ll find the recipe at the bottom of the post.
Why You’ll Love This Recipe
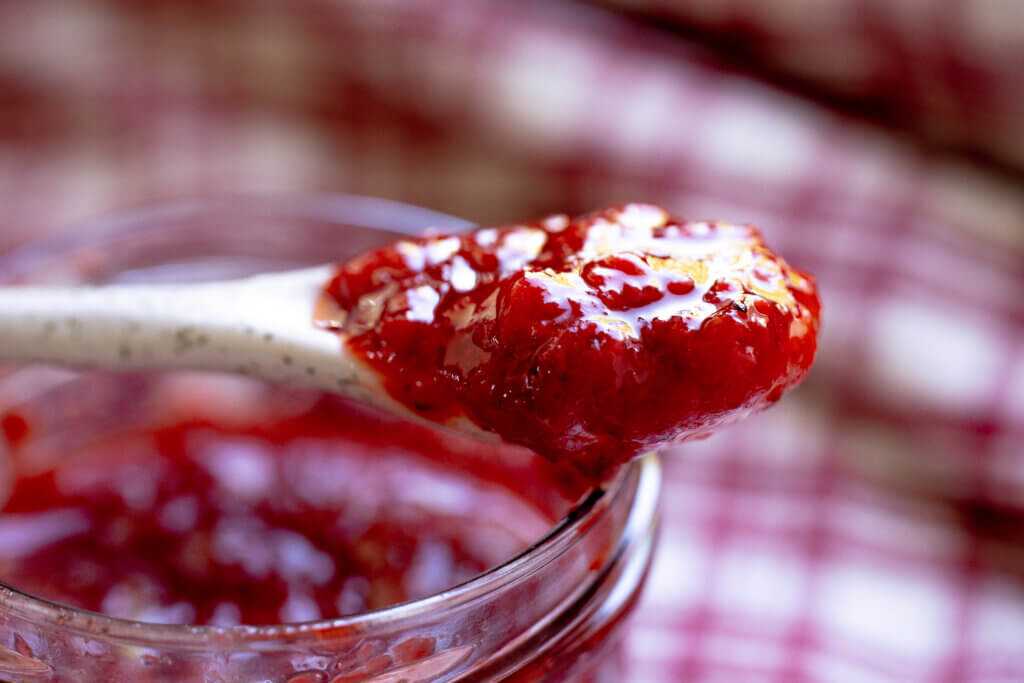
- It cooks quickly and sets reliably: You start by stirring the Gelfix into the chopped strawberries with a little sugar, then bring that to a boil. After that, add the rest of the sugar and cook it for just five minutes. You don’t need a kitchen thermometer or have to keep checking whether the jam will set. The Gelfix takes care of that, so you end up with a thick, spoonable jam that firms up as it cools.
- It’s a simple 3-ingredient recipe: This quick strawberry jam recipe is made with just strawberries, granulated sugar, and one packet of Gelfix Super. You don’t need any specialty ingredients or extras. The Gelfix replaces the guesswork of homemade pectin and makes sure the jam sets properly without adding anything unnecessary.
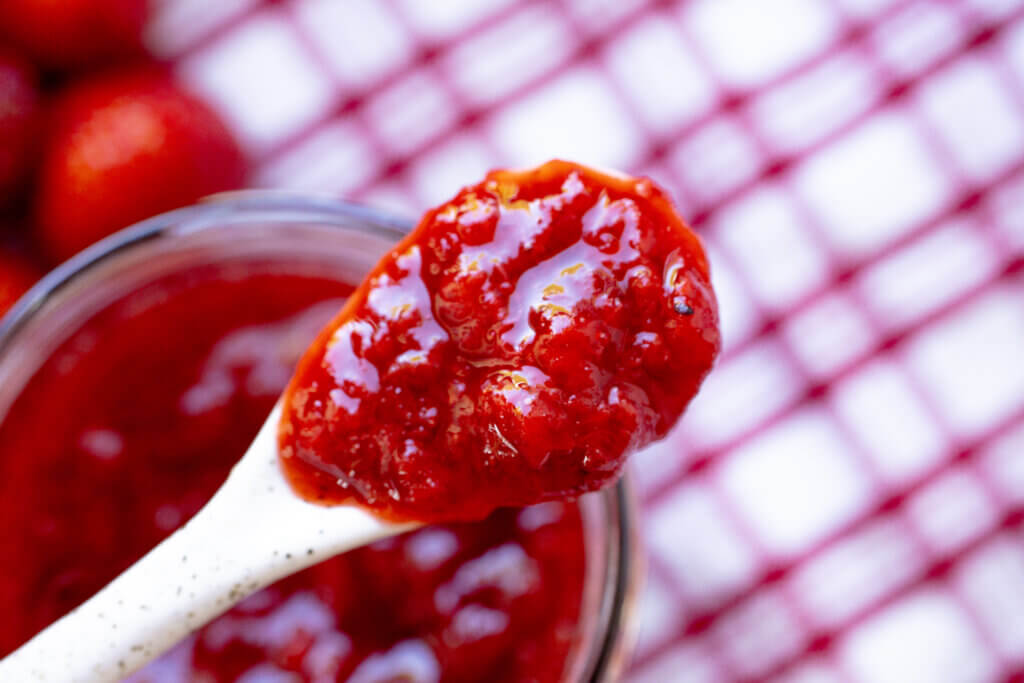
- A great way to preserve a big strawberry harvest: If you’ve got baskets of berries and no freezer space left, this simple recipe is an easy way to put them up. I love that the jars store for months, unopened. And the best part? You can use this quick strawberry jam recipe a hundred different ways. I spread it on sourdough toast, stir it into yogurt parfaits, and spoon it over pancakes. And sometimes I swirl it into overnight oats for a quick breakfast.
What You’ll Need
Tools
How to Make Strawberry Jam at Home
- Chop the strawberries: Remove the green tops, then cut the strawberries into smaller pieces. This helps them break down faster once they start cooking.
- Start cooking the fruit: Place the chopped strawberries in a large pot. In a small bowl, stir the packet of Gelfix Super with 2 tablespoons of the sugar. Add that mixture to the pot and stir everything together.
- Bring to a boil: Set the pot over medium-high heat. While stirring, bring the strawberries to a full boil and let them cook for 1 minute.
- Add the rest of the sugar: Pour in the remaining sugar, stir well, and bring the mixture back to a boil. Keep stirring and let it cook for about 5 minutes.
- Skim off any foam: If foam rises to the top, skim it off with a spoon and discard.
- Pour the jam into the jars: Immediately pour the hot cooked jam into clean jars while it’s still piping hot. USDA recommends leaving 1/4″ of headspace, so fill the jam to just below the rim.
- Seal and flip: Wipe the rims clean, close the jars with lids, and turn them upside down. Leave them flipped while they cool; this little trick helps the lids seal as the jam sets.
A Note on Homemade Jam Canning Methods:
This recipe follows the traditional European-style canning method: the jam is poured into clean jars while piping hot, the lids are sealed, and the jars are turned upside down to cool. It’s a common approach in many European kitchens and works well for high-sugar jam recipes like this one.
If you prefer the USDA-approved method, the National Center for Home Food Preservation recommends processing the jars in a boiling water bath. For half-pint or pint jars, process for 5 minutes if you live below 1,000 feet in elevation, 10 minutes if you’re between 1,001 and 6,000 feet, and 15 minutes if you’re above 6,000 feet.
FAQ
Tips for Getting a Good Set on This Strawberry Jam
1. Mix the Gelfix with a little sugar before adding it to the pot.
Stirring the Gelfix (which contains pectin) with 2 teaspoons of sugar helps prevent clumping and makes sure it dissolves properly so it can do its job.
2. Boil the jam long enough, but not too long.
After adding the rest of the sugar, bring the jam to a full boil and cook it for about 5 minutes. That’s usually enough time for it to thicken without overcooking the fruit. If you don’t boil it long enough, the jam may not set.
3. Skim the foam before jarring.
Foam can trap air and make your jam look cloudy. Skimming it off gives you a cleaner result and helps the jam store better.
4. Use a water bath if you’d rather not flip the jars.
This quick strawberry jam recipe uses the flip-and-cool method, which works well when the jars are clean and the jam is poured in hot. But if you prefer, you can water-bath the sealed jars for about 10 minutes (adjust for altitude).
Storage
If your jars seal well after cooling, store them in a cool, dark spot like your pantry or a kitchen cabinet for up to 6 months. Once opened, keep the jar in the fridge and use it within 3 to 4 weeks. If any jar doesn’t seal, don’t leave it at room temperature. Just stick it in the fridge and use it up soon. That shouldn’t be a problem with all the ways you can put this jam to work.
Quick Strawberry Jam Recipe (Easy Homemade Jam)
Equipment
- Large Pot
- Wooden spoon/heatproof spatula:
- Clean jam jars (with lids)
- Ladle/measuring cup with a spout
- Small clean towel/damp cloth
- Hot pad/thick kitchen towel
Ingredients
- 1000 g strawberries without tops
- 350 g sugar
- 1 packet Dr. Oetka Gelfix Super
Instructions
- Chop the strawberries: Remove the green tops, then cut the strawberries into smaller pieces. This helps them break down faster once they start cooking.
- Start cooking the fruit: Place the chopped strawberries in a large pot. In a small bowl, stir the packet of Gelfix Super with 2 tablespoons of the sugar. Add that mixture to the pot and stir everything together.
- Bring to a boil: Set the pot over medium-high heat. While stirring, bring the strawberries to a full boil and let them cook for 1 minute.
- Add the rest of the sugar: Pour in the remaining sugar, stir well, and bring the mixture back to a boil. Keep stirring and let it cook for about 5 minutes.
- Skim off any foam: If foam rises to the top, skim it off with a spoon and discard.
- Pour the jam into the jars: Immediately pour the hot cooked jam into clean jars while it’s still piping hot. USDA recommends leaving 1/4″ of headspace, so fill the jam to just below the rim.
- Seal and flip: Wipe the rims clean, close the jars with lids, and turn them upside down. Leave them flipped while they cool; this little trick helps the lids seal as the jam sets.
Notes
A Note on Homemade Jam Canning Methods:
This recipe follows the traditional European-style canning method: the jam is poured into clean jars while piping hot, the lids are sealed, and the jars are turned upside down to cool. It’s a common approach in many European kitchens and works well for high-sugar jam recipes like this one. If you prefer the USDA-approved method, the National Center for Home Food Preservation recommends processing the jars in a boiling water bath. For half-pint or pint jars, process for 5 minutes if you live below 1,000 feet in elevation, 10 minutes if you’re between 1,001 and 6,000 feet, and 15 minutes if you’re above 6,000 feet.Tips for Getting a Good Set on This Strawberry Jam
- Mix the Gelfix with a little sugar before adding it to the pot. Stirring the Gelfix (which contains pectin) with 2 teaspoons of sugar helps prevent clumping and makes sure it dissolves properly so it can do its job.
- Boil the jam long enough, but not too long. After adding the rest of the sugar, bring the jam to a full boil and cook it for about 5 minutes. That’s usually enough time for it to thicken without overcooking the fruit. If you don’t boil it long enough, the jam may not set.
- Skim the foam before jarring. Foam can trap air and make your jam look cloudy. Skimming it off gives you a cleaner result and helps the jam store better.
- Use a water bath if you’d rather not flip the jars. This recipe uses the flip-and-cool method, which works well when the jars are clean and the jam is poured in hot. But if you prefer, you can water-bath the sealed jars for about 10 minutes (adjust for altitude).
Storage
If your jars seal well after cooling, store them in a cool, dark spot like your pantry or a kitchen cabinet for up to 6 months. Once opened, keep the jar in the fridge and use it within 3 to 4 weeks. If any jar doesn’t seal, don’t leave it at room temperature. Just stick it in the fridge and use it up soon. That shouldn’t be a problem with all the ways you can put this jam to work.


This article may contain affiliate links, which means I make a small commission at no extra cost to you. As an Amazon Associate, I earn from qualifying purchases at no extra cost to you. You can read the full disclosure policy.