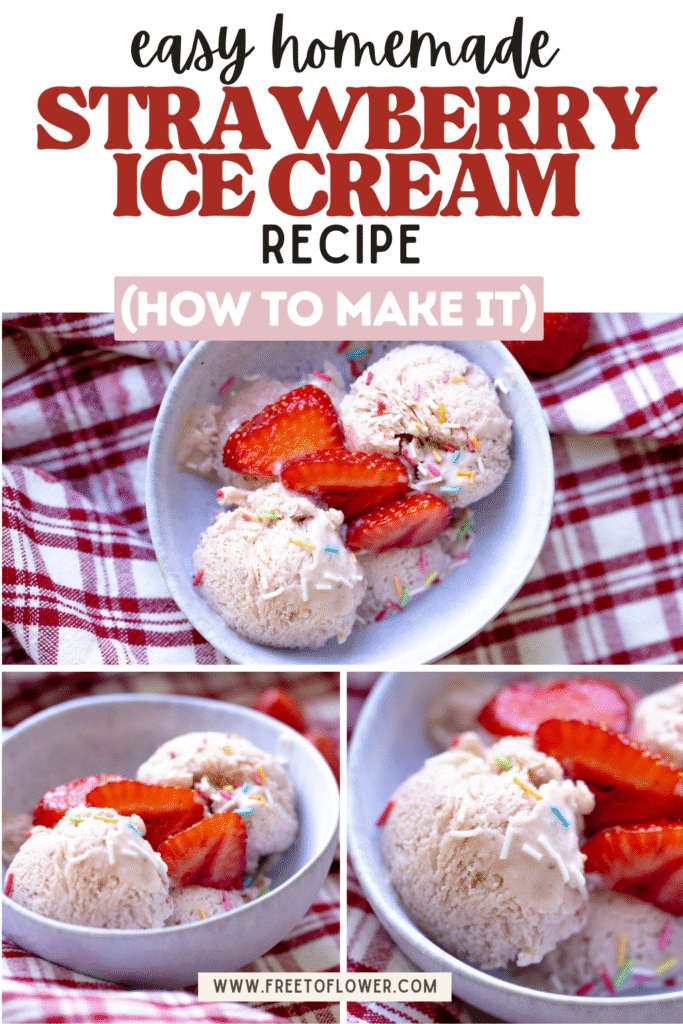
Easy Homemade Strawberry Ice Cream Recipe (How to Make It)
Homemade Strawberry Ice Cream Recipe with milk, cream, berries, maple syrup, vanilla, and egg yolks or eggless. Either way, it’s always rich, creamy, and scoopable.
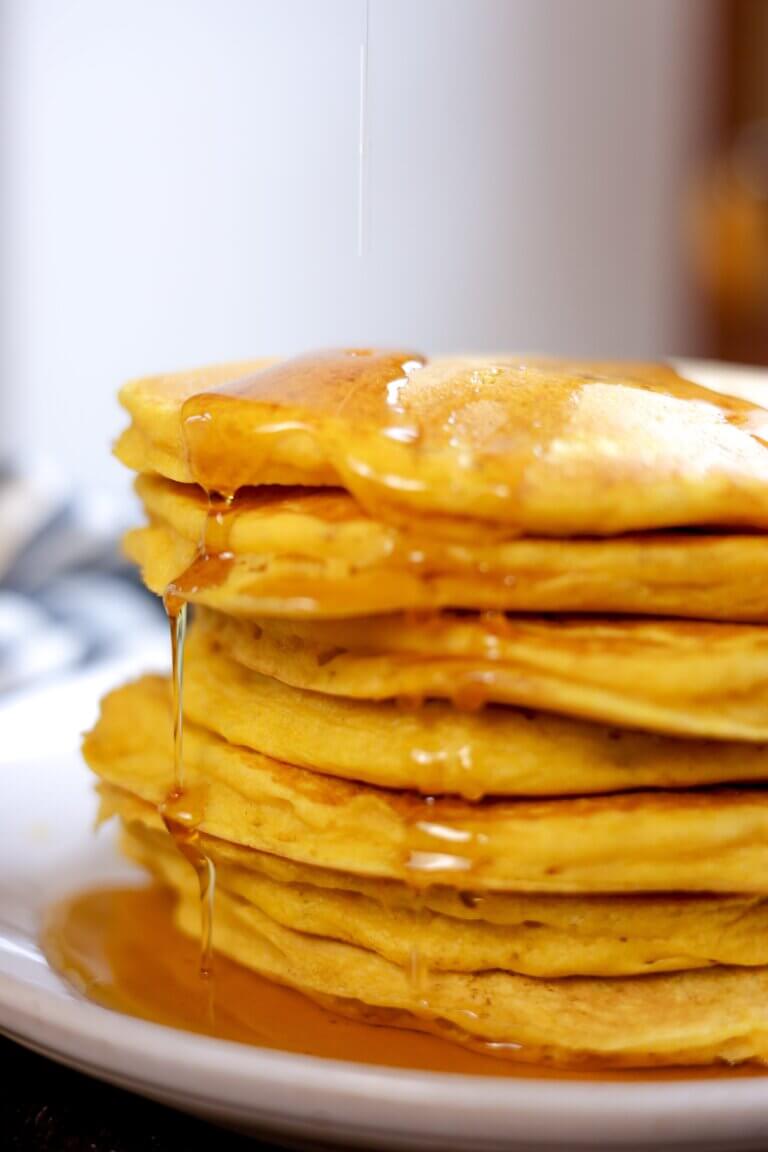
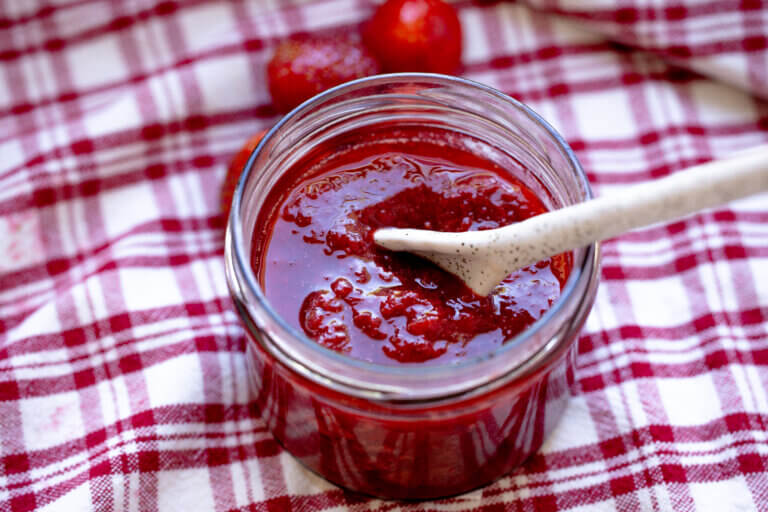
Around here, strawberry season means baskets of fresh strawberries on the counter and juice dripping on every cutting board. Then there’s the sudden realization that I need to use up the sweet strawberries before they start to spoil. I make strawberry jam, but I also make some homemade strawberry ice cream recipe to deal with the glut.
This is a great recipe for a really hot day. Blend a handful of ingredients together, churn, and give the result some freezer time, and that’s it. If you’re going with the eggless version, you don’t have to cook a custard or worry about tempering eggs like you would with something like butter pecan ice cream.
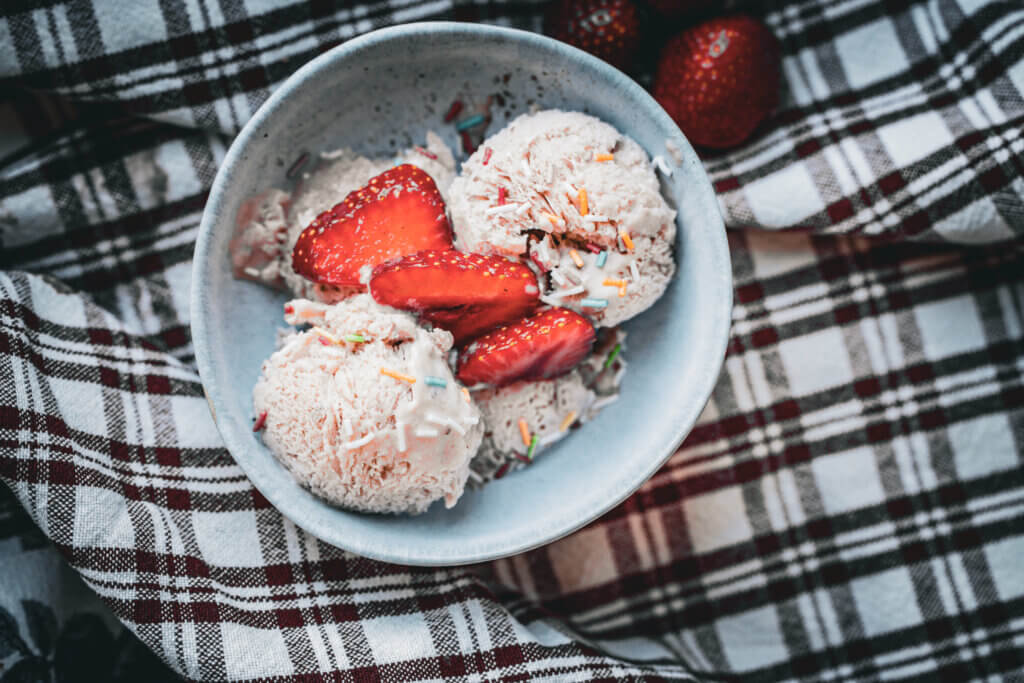
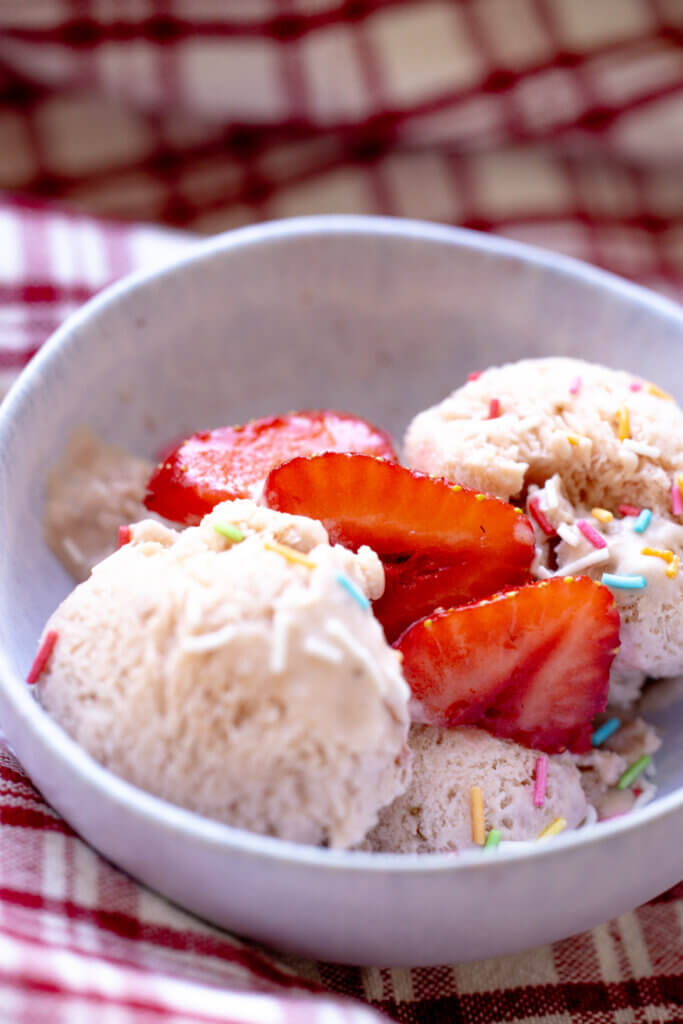
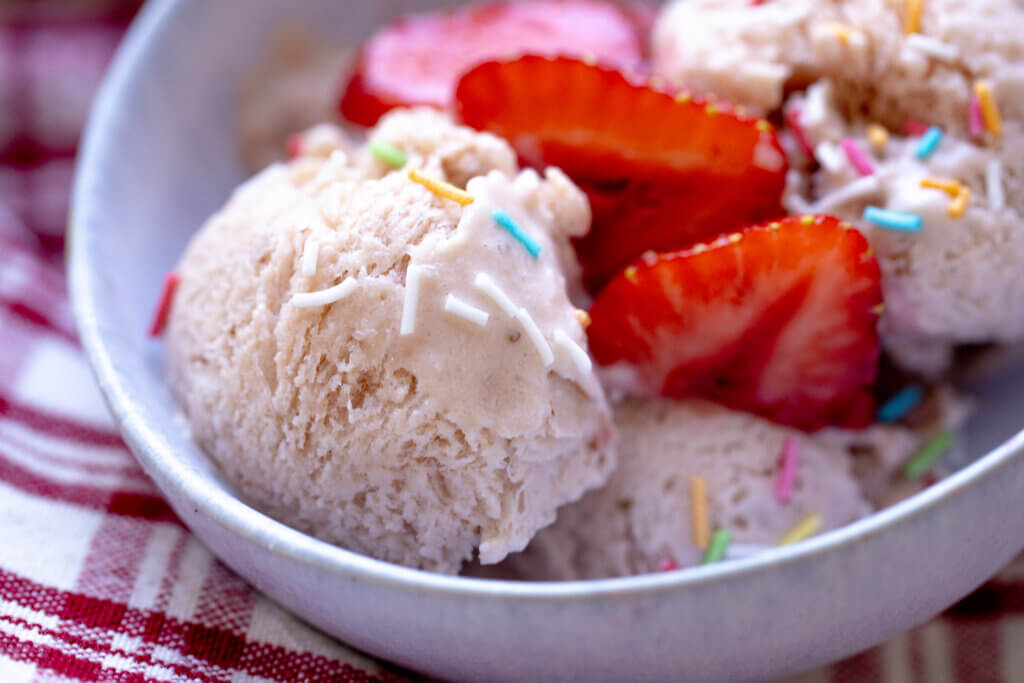
You get a rich ice cream scoop with a clean strawberry flavor and just enough sweetness from the maple syrup. The texture is soft and smooth, and the taste reminds me of what strawberry ice cream is supposed to be: fresh, balanced, and full of real fruit.
There aren’t other ice cream recipes on this sourdough blog yet, but I have a bunch of strawberry recipes you can mess around with. Scroll down for the full recipe card and helpful recipe notes, then go make yourself a good batch of homemade strawberry ice cream.
Why You’ll Love This Recipe
- Real strawberries, not artificial flavoring: The homemeade strawberry ice cream recipe base starts with a full pound of fresh strawberries, so the flavor comes straight from the fruit itself. If you’ve ever been disappointed by store-bought strawberry ice cream that tastes too sweet or artificial, this recipe is worth trying.
- Makes rich and creamy ice cream, with or without eggs: This homemade strawberry ice cream recipe gives you options. If you want that ultra-creamy, classic feel, go with the egg yolks and make a custard-style base. Prefer to keep it simple? Skip the eggs and go for the quicker, no-cook version. Both turn out rich, scoopable, and full of fresh strawberry flavor.
- A smart way to use up an abundance of strawberries: When berries are coming in faster than you can eat them or toss them into smoothies, this recipe helps you put them to good use. It gives you a homemade treat you can store in the freezer and enjoy over the next couple of days.
- Just as good as what you’d get at an ice cream shop: Honestly, this homemade strawberry ice cream holds its own against anything I’ve bought at the local ice cream shop. The flavor tastes a little cleaner, the sweetness feels more balanced, and the fact that you made it yourself makes every scoop that much better.
What You’ll Need
Tools
How to Make Strawberry Ice Cream (With Eggs)
*Be sure to freeze the ice maker bowl for at least 12 hours, or per the manufacturer’s instructions. That makes this a plan-ahead recipe.
- Temper the egg yolks: In a saucepan, gently heat the raw milk, cream, and maple syrup over medium heat until the mixture’s steaming but not boiling. While that’s warming, whisk the egg yolks in a medium bowl. Slowly pour a little of the mixture into the yolks, whisking constantly to temper them. This step keeps the eggs from scrambling. Once tempered, pour the egg yolk mixture back into the saucepan.
- Cook the base: Continue cooking the mixture over medium heat, stirring constantly with a spatula or wooden spoon, until it thickens slightly and coats the back of the spoon (about 170–175°F). Don’t let it boil. Once it’s ready, remove the mixture from the heat.
- Blend in the rest of the ingredients: Add the strawberry puree, vanilla, and salt to the warm base and blend everything until smooth with a countertop blender. If you like bits of strawberry in your ice cream, reserve a few chopped pieces and stir them in by hand after blending.
- Chill the mixture. Pour the blended base into a container, cover, and refrigerate for at least 2 hours. This helps the flavors come together and ensures the mixture is cold enough to churn properly.
- Churn the ice cream. Once chilled, pour the mixture into the frozen bowl of your KitchenAid ice cream maker. Attach the dasher, turn the mixer to “Stir” or speed 1, and churn for 20 to 30 minutes. You’re looking for the consistency of soft serve, and you can eat some ice cream at this point if you want.
- Freeze until firm. Transfer the churned ice cream to a freezer-safe container. Smooth the top with a spatula, cover, and freeze for at least 2 hours. This firms it up to a classic scoopable texture.
- Serve and enjoy. Scoop and serve straight from the freezer. If it’s too firm, let it sit on the counter for a few minutes to soften slightly before scooping.
Eggless Ice Cream Recipe
- Blend the base: In a blender, combine 2 cups raw milk (or whole milk), 1 cup heavy cream, ¾ cup maple syrup (or less if your berries are sweet), 2 cups fresh strawberry puree, 1 teaspoon vanilla extract, and a pinch of salt. Blend until smooth. If you like bits of fruit, save some chopped strawberries and stir them in after blending.
- Chill the mixture: Pour the blended base into a container, cover, and refrigerate for at least 2 hours, or until it’s nice and cold.
- Churn the ice cream: Once chilled, pour the mixture into your frozen KitchenAid ice cream maker bowl.Attach the dasher, set the mixer to “Stir” or speed 1, and churn for 20–30 minutes until it looks like soft serve.
- Freeze until firm: Transfer the churned ice cream to a freezer-safe container, smooth the top, and freeze for at least 2 hours to get that classic scoopable texture.
- Scoop and enjoy. Let it sit on the counter for a few minutes if it’s too firm, then serve it up!
FAQ
Tips for Smooth, Creamy Strawberry Ice Cream
- Make sure your ice maker bowl is frozen for at least 12 hours. If it’s not frozen solid all the way through, the ice cream won’t churn properly.
- Both versions, custard and eggless, benefit from starting with a fully chilled base before churning. A cold base=smoother ice cream texture.
- Use raw milk if you can. It has the freshest, fullest flavor, but whole milk works just fine. You can even mix different kinds of milk, like whole and 2%, depending on what you’ve got.
- Adjust the maple syrup if you want less sweetness. ¾ cup makes a nicely sweet ice cream, but if your strawberries are already very ripe, you can cut it back to ½ cup without affecting the texture too much.
- If you like bits of real fruit in your ice cream, set aside a few chopped strawberries and stir them in after blending. You can also mash some with a potato masher. Keep the pieces small so they don’t turn icy.
- Let the ice cream sit a few minutes before scooping. After a few hours in the freezer, it’ll firm up quite a bit. A short rest on the counter makes scooping much easier and gives it that creamy, just-churned texture again.
How to Store Strawberry Ice Cream
Easy Homemade Strawberry Ice Cream Recipe (How to Make It)
Equipment
- Blender
- Ice cream maker:
- Freezer-safe ice cream container with a lid
- Spatula or spoon
Ingredients
- 2 cups raw milk
- 1 cup heavy cream
- ¾ cup maple syrup
- 4 large egg yolks
- 1 lb. fresh strawberries hulled and pureed (about 2 cups fresh strawberry puree):
- 1 tsp vanilla extract
- Pinch of salt
Instructions
- *Be sure to freeze the ice maker bowl for at least 12 hours, or per the manufacturer’s instructions. That makes this a plan-ahead recipe.
- 1.Temper the egg yolks: In a saucepan, gently heat the raw milk, cream, and maple syrup over medium heat until the mixture’s steaming but not boiling. While that’s warming, whisk the egg yolks in a medium bowl. Slowly pour a little of the mixture into the yolks, whisking constantly to temper them. This step keeps the eggs from scrambling. Once tempered, pour the egg yolk mixture back into the saucepan.
- Cook the base: Continue cooking the mixture over medium heat, stirring constantly with a spatula or wooden spoon, until it thickens slightly and coats the back of the spoon (about 170–175°F). Don’t let it boil. Once it’s ready, remove the mixture from the heat.
- Blend in the rest of the ingredients: Add the strawberry puree, vanilla, and salt to the warm base and blend everything until smooth with a countertop blender. If you like bits of strawberry in your ice cream, reserve a few chopped pieces and stir them in by hand after blending.
- Chill the mixture. Pour the blended base into a container, cover, and refrigerate for at least 2 hours. This helps the flavors come together and ensures the mixture is cold enough to churn properly.
- Churn the ice cream. Once chilled, pour the mixture into the frozen bowl of your KitchenAid ice cream maker. Attach the dasher, turn the mixer to “Stir” or speed 1, and churn for 20 to 30 minutes. You’re looking for the consistency of soft serve, and you can eat some ice cream at this point if you want.
- Freeze until firm. Transfer the churned ice cream to a freezer-safe container. Smooth the top with a spatula, cover, and freeze for at least 2 hours. This firms it up to a classic scoopable texture.
- Serve and enjoy. Scoop and serve straight from the freezer. If it’s too firm, let it sit on the counter for a few minutes to soften slightly before scooping.
Eggless Ice Cream Recipe
- Blend the base: In a blender, combine 2 cups raw milk (or whole milk), 1 cup heavy cream, ¾ cup maple syrup (or less if your berries are sweet), 2 cups fresh strawberry puree, 1 teaspoon vanilla extract, and a pinch of salt. Blend until smooth. If you like bits of fruit, save some chopped strawberries and stir them in after blending.
- Chill the mixture: Pour the blended base into a container, cover, and refrigerate for at least 2 hours, or until it’s nice and cold.
- Churn the ice cream: Once chilled, pour the mixture into your frozen KitchenAid ice cream maker bowl. Attach the dasher, set the mixer to “Stir” or speed 1, and churn for 20–30 minutes until it looks like soft serve.
- Freeze until firm: Transfer the churned ice cream to a freezer-safe container, smooth the top, and freeze for at least 2 hours to get that classic scoopable texture.
- Scoop and enjoy. Let it sit on the counter for a few minutes if it’s too firm, then serve it up!
Notes
Tips for Smooth, Creamy Strawberry Ice Cream
Make sure your ice maker bowl is frozen for at least 12 hours. If it’s not frozen solid all the way through, the ice cream won’t churn properly. Both versions, custard and eggless, benefit from starting with a fully chilled base before churning. A cold base=smoother ice cream texture. Use raw milk if you can. It has the freshest, fullest flavor, but whole milk works just fine. You can even mix different kinds of milk, like whole and 2%, depending on what you’ve got. Adjust the maple syrup if you want less sweetness. ¾ cup makes a nicely sweet ice cream, but if your strawberries are already very ripe, you can cut it back to ½ cup without affecting the texture too much. If you like bits of real fruit in your ice cream, set aside a few chopped strawberries and stir them in after blending. You can also mash some with a potato masher. Keep the pieces small so they don’t turn icy. Let the ice cream sit a few minutes before scooping. After a few hours in the freezer, it’ll firm up quite a bit. A short rest on the counter makes scooping much easier and gives it that creamy, just-churned texture again.How to Store Strawberry Ice Cream
Room temperature: This ice cream contains raw milk and cream, and may contain egg yolks depending on which version you make. Either way, don’t leave it out for more than 1 hour. After serving, return any leftovers to the freezer right away. Leaving it out longer can lead to bacterial growth and a loss of texture.
Freezer: Store the ice cream in a freezer-safe container with a tight-fitting lid. It will keep well for up to 2 weeks. After that, the strawberry flavor starts to fade and the texture can become icy. For best results, press a piece of parchment paper against the surface before sealing the container to help prevent freezer burn.
Thawing: If the ice cream is too hard to scoop straight from the freezer, thaw it on the counter for 5 to 10 minutes. It’ll soften enough to scoop without turning runny.


This article may contain affiliate links, which means I make a small commission at no extra cost to you. As an Amazon Associate, I earn from qualifying purchases at no extra cost to you. You can read the full disclosure policy.