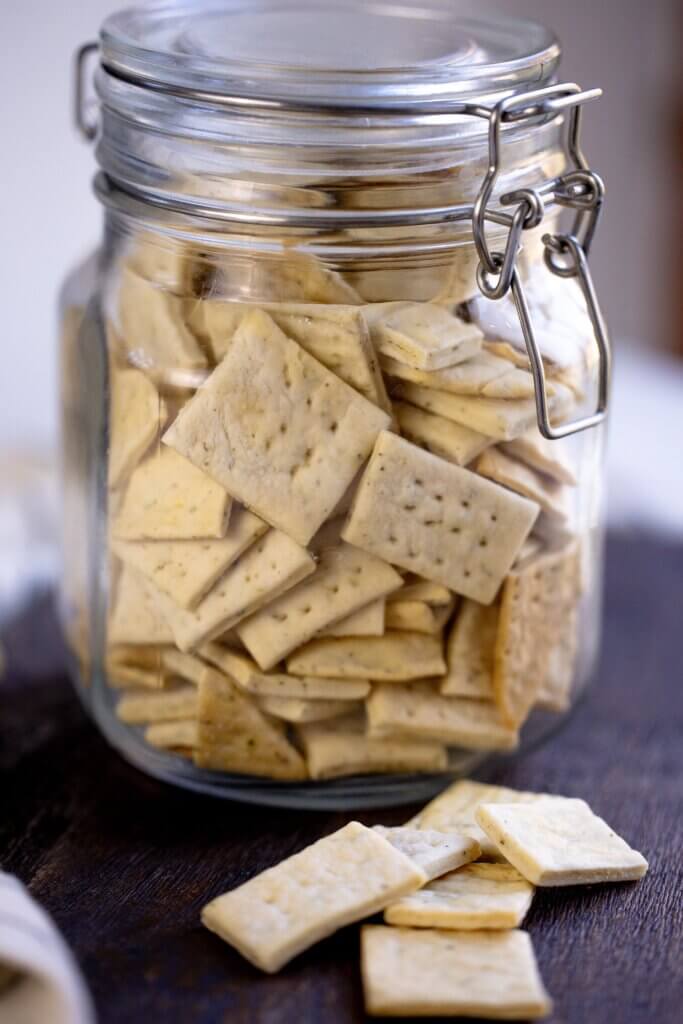
Crispy Sourdough Discard Crackers Recipe
This sourdough crackers recipe makes light, crisp, and flavorful crackers with discard. Perfect for snacking, cheese boards, or dipping!
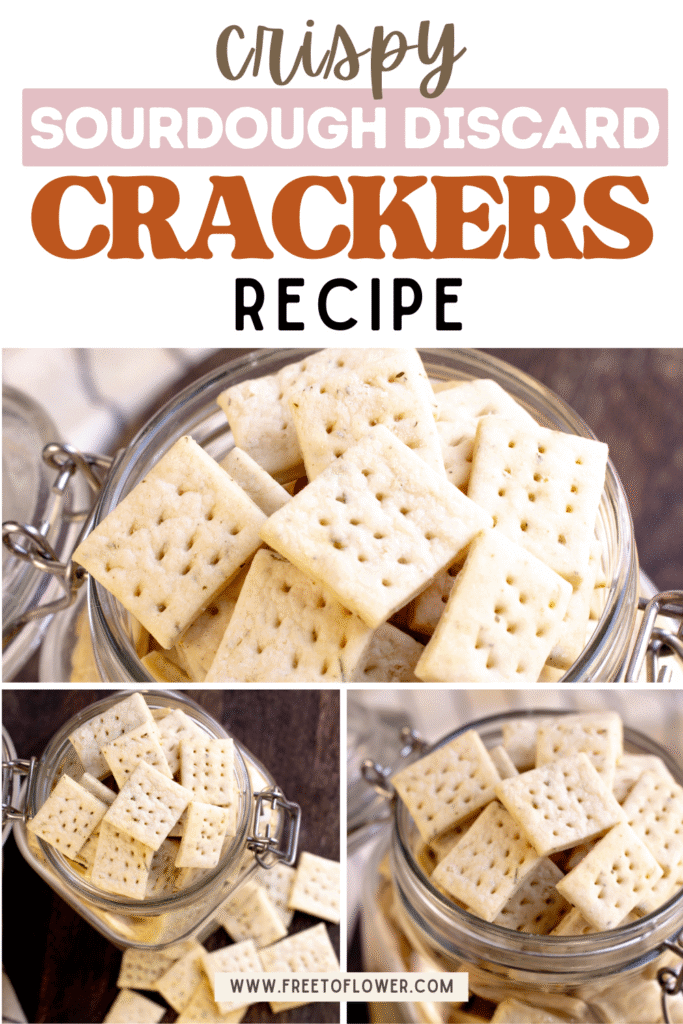
When I decided to ditch store-bought snacks for my kids and go fully homemade, sourdough crackers recipe were first on my list. We all love a good crunchy snack, and I was surprised at just how well these turned out. None of us-kids included-miss the packaged kind anymore. Made with simple, wholesome ingredients and the natural tang from sourdough discard, these crackers are light, crisp, and full of flavor.
One of the best parts? You can change them up each time with different herbs, spices, or toppings. They're delicious on their own, but they also shine alongside cheese, dips, or even a charcuterie board. This is a discard recipe I find myself making again and again.
Why You'll Love This Recipe
- Homemade Goodness - No preservatives, no fillers-just simple ingredients you probably already have in your kitchen. They're wholesome, flavorful, and way better than the boxed kind.
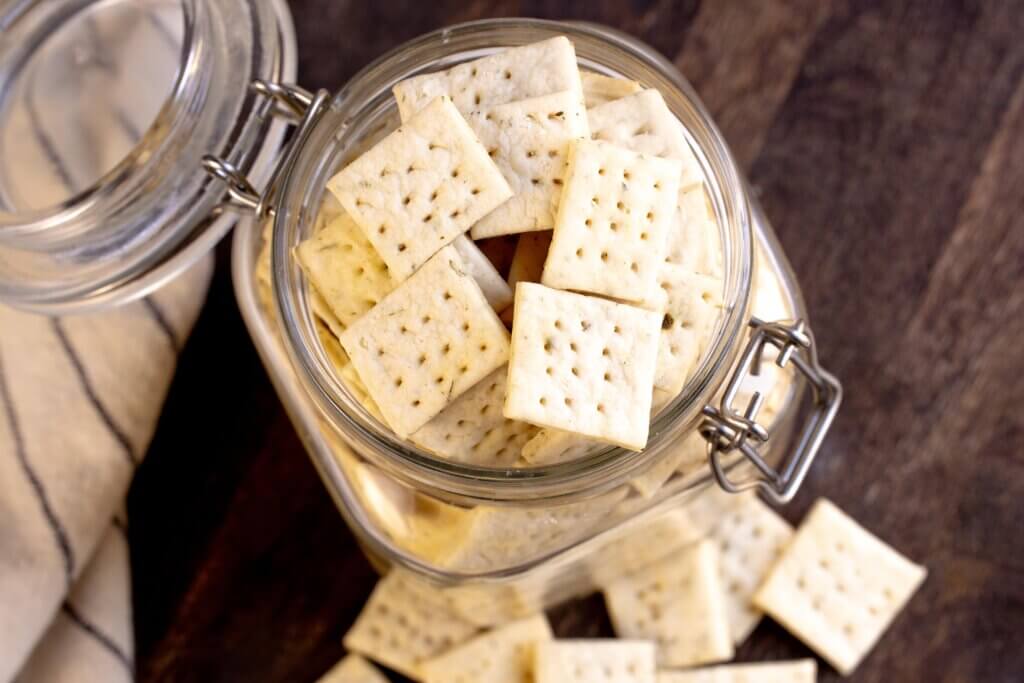
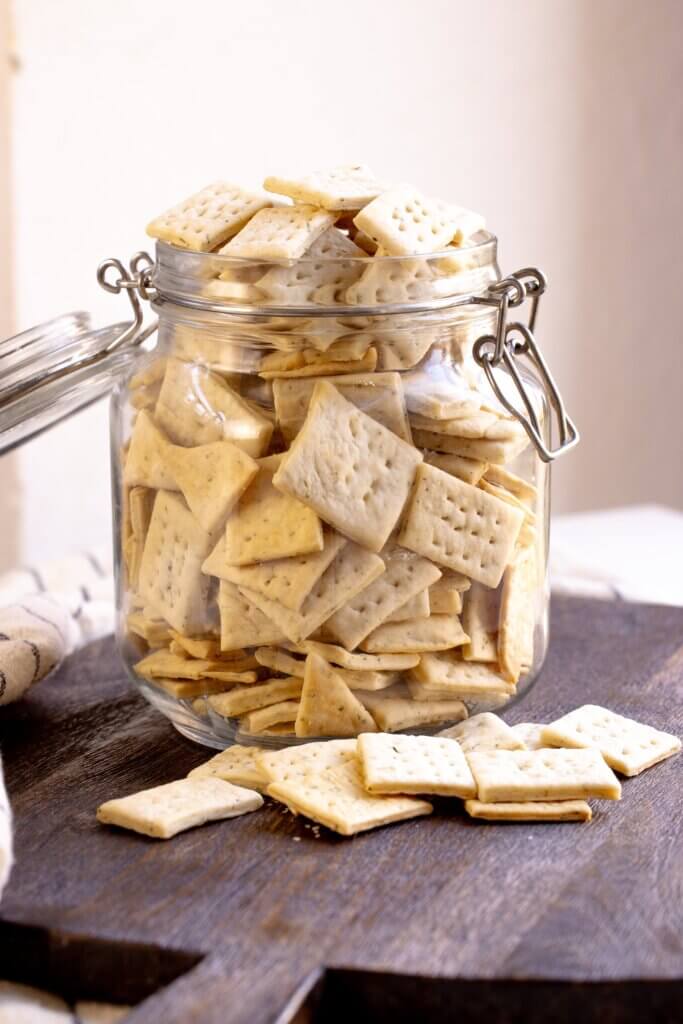
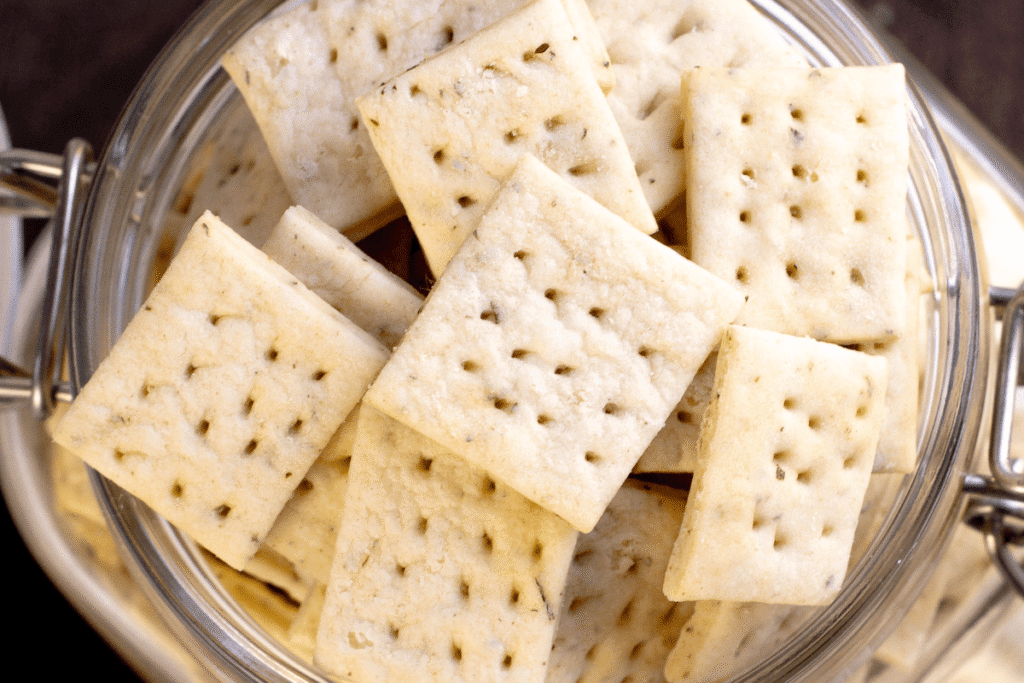
- Crunch Factor - These sourdough crackers recipe bake up perfectly crisp and satisfying. Thin, golden, and full of that classic cracker snap-exactly what a good cracker should be.
- Endless Variety - Change things up with herbs, spices, or toppings like sesame or poppy seeds. Just like how I enjoy giving new life to leftovers with recipes like sourdough breadcrumbs and sourdough croutons, you can make these crackers your own every time.
- Family Favorite Snack - My kids ask for these sourdough crackers recipe on repeat, and they're just as good for lunchboxes as they are on a snack board for adults. They've become a staple in our home.
What You'll Need
Tools
Instructions
- Mix the Dough: In the bowl of a stand mixer, combine the flour, sourdough discard, salt, butter, and herbs. Knead with the dough hook until the dough is smooth and holds together without sticking.
- Divide and Chill: Split the dough into two equal parts (use a scale if you want precision). Shape into rectangles, wrap in plastic, and refrigerate for 30 minutes until firm.
- Preheat & Roll: Preheat oven to 350°F (180°C). Roll each dough piece on a floured surface until very thin (about 1/16-inch).
- Cut & Dock: Transfer to a parchment-lined baking sheet. Slice into squares with a pizza cutter and prick each cracker with a fork to prevent puffing.
- Bake: Bake for 20-25 minutes, watching closely. Remove when the edges turn golden and fragrant.
- Cool: Let crackers cool on a wire rack before storing or serving.
FAQ
Tips
1. Check the Dough Texture
You want your dough to be smooth and easy to handle, not sticky or crumbly. If it sticks to your hands, sprinkle in a little more flour. If it feels too dry, add just a drop of water. Adjust slowly until you get a soft, workable dough.
2. Chill Before Rolling
Resting the dough in the fridge for about 30 minutes makes it easier to roll out thin and cut into neat shapes. Cold dough behaves better and gives you more control.
3. Roll Nice and Thin
Crackers need to be rolled very thin, about 1/16-inch, to bake up truly crisp. Take your time here-thicker dough will give you a softer cracker.
4. Dock the Dough
Don't skip the step of poking each cracker with a fork. This prevents air bubbles from forming and helps them bake flat and crunchy.
5. Bake Carefully
All ovens run a little differently, so start checking your crackers at the 20-minute mark. You want golden edges, not burned ones, so watch closely.
6. Cool Completely
Once baked, let the crackers cool on a wire rack. This helps them firm up properly and stay crunchy when you store them.
Storage
📖 Recipe

Crispy Sourdough Discard Crackers Recipe
Equipment
- Large mixing bowl
- Measuring cups/spoons or kitchen scale
- Fork
- Wooden spoon or spatula
- Stand mixer with dough hook
- Rolling Pin
- Pizza Cutter
- Parchment paper and baking sheet
Ingredients
- 220 g 1 cup sourdough discard, unfed
- ½ teaspoon sea salt
- 120 g 1 cup whole wheat flour
- 60 g 4 tablespoon unsalted butter, room temp
- Oil for brushing
- 2 tablespoon dried herbs your choice
- Coarse salt for sprinkling
Instructions
- Mix the Dough: In the bowl of a stand mixer, combine the flour, sourdough discard, salt, butter, and herbs. Knead with the dough hook until the dough is smooth and holds together without sticking.
- Divide and Chill: Split the dough into two equal parts (use a scale if you want precision). Shape into rectangles, wrap in plastic, and refrigerate for 30 minutes until firm.
- Preheat & Roll: Preheat oven to 350°F (180°C). Roll each dough piece on a floured surface until very thin (about 1/16-inch).
- Cut & Dock: Transfer to a parchment-lined baking sheet. Slice into squares with a pizza cutter and prick each cracker with a fork to prevent puffing.
- Bake: Bake for 20-25 minutes, watching closely. Remove when the edges turn golden and fragrant.
- Cool: Let crackers cool on a wire rack before storing or serving.
Notes
Tips for Success
- Check the Dough Texture - You want your dough to be smooth and easy to handle, not sticky or crumbly. If it sticks to your hands, sprinkle in a little more flour. If it feels too dry, add just a drop of water. Adjust slowly until you get a soft, workable dough.
- Chill Before Rolling - Resting the dough in the fridge for about 30 minutes makes it easier to roll out thin and cut into neat shapes. Cold dough behaves better and gives you more control.
- Roll Nice and Thin - Crackers need to be rolled very thin, about 1/16-inch, to bake up truly crisp. Take your time here-thicker dough will give you a softer cracker.
- Dock the Dough - Don't skip the step of poking each cracker with a fork. This prevents air bubbles from forming and helps them bake flat and crunchy.
- Bake Carefully - All ovens run a little differently, so start checking your crackers at the 20-minute mark. You want golden edges, not burned ones, so watch closely.
- Cool Completely - Once baked, let the crackers cool on a wire rack. This helps them firm up properly and stay crunchy when you store them.
- At Room Temperature: Once your crackers have completely cooled, store them in an airtight container-like a glass jar or resealable bag-at room temperature. They'll keep their crisp texture for up to 2 weeks.
- In the Freezer: For longer storage, place the cooled crackers in a freezer-safe container or bag. They'll keep well for up to 3 months. When you're ready to enjoy, simply let them thaw at room temperature for a few hours; they'll still be perfectly crunchy without reheating.
- Keeping Them Dry: Make sure the crackers are fully cooled before sealing them up. Any leftover warmth can create moisture that softens their texture. If you live in a humid climate, consider slipping a food-safe silica packet into the container to help them stay extra crisp.


Comments
No Comments