Cinnamon Raisin Sourdough Bread Recipe
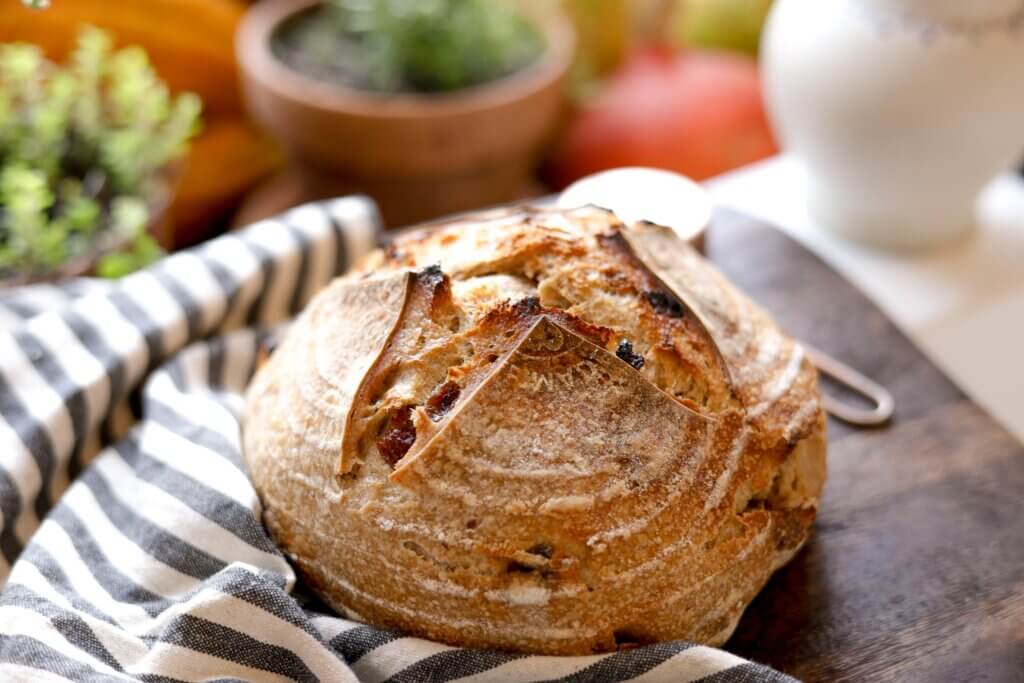
This cinnamon raisin sourdough bread recipe makes a soft, flavorful loaf swirled with warm spice and sweetness, perfect for fall breakfasts or brunch.
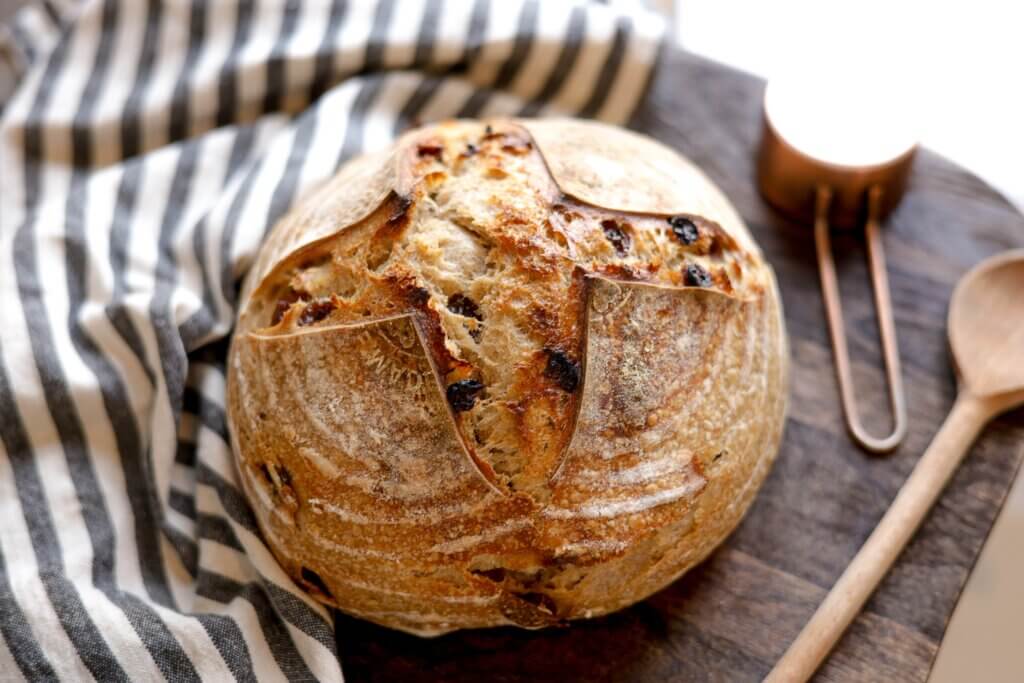
As the crisp days of fall settle in, I find myself reaching for cinnamon in everything I bake—its warm, cozy spice feels like a hug in flavor form. This cinnamon raisin sourdough bread recipe is soft, flavorful, and swirled with the perfect balance of sweetness and spice. It’s simple enough for an everyday bake, yet special enough to serve at a fall breakfast or brunch.
Why You’ll Love This Recipe
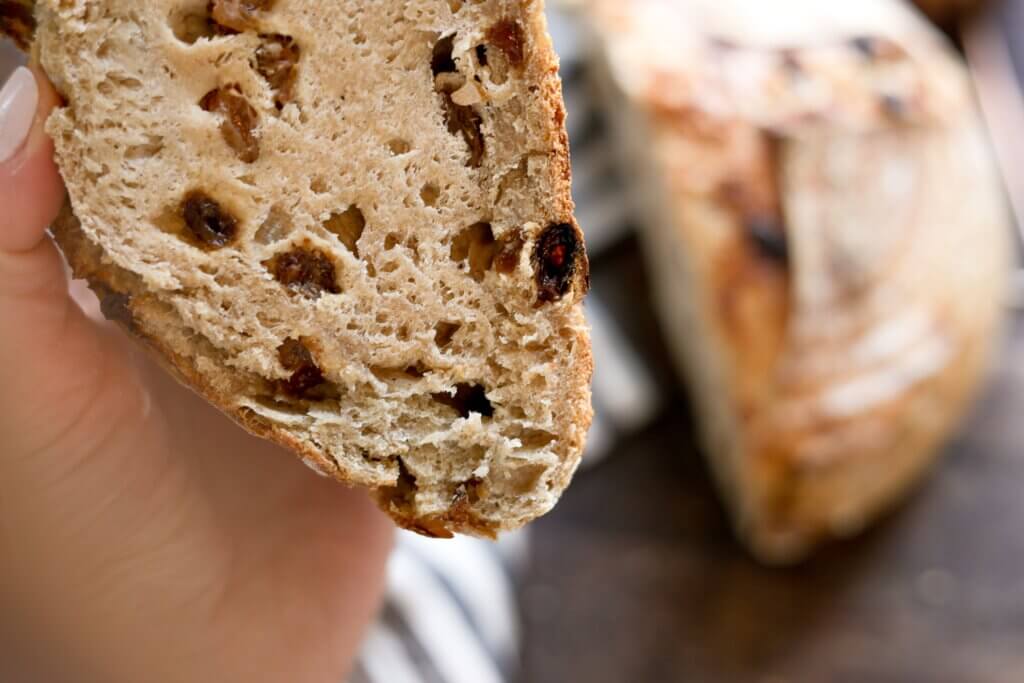
- It’s cozy and flavorful: This cinnamon raisin sourdough bread recipe is filled with warm cinnamon and sweet raisins that make every slice taste like comfort food. Perfect toasted with a bit of butter or even as French toast.
- It’s a fun twist on sourdough: If you already bake sourdough, this cinnamon raisin sourdough bread recipe is an easy way to change things up without adding much extra work. You still get that tangy sourdough depth, but with the sweetness of raisins and spice.
- It pairs perfectly with fall favorites: There’s nothing better than a warm slice of cinnamon raisin sourdough bread with a hot cup of Pumpkin Spice Flavored Coffee. Together, they’re the ultimate cozy fall pairing—perfect for crisp mornings or afternoon treats.
What You’ll Need
Tools
Instructions
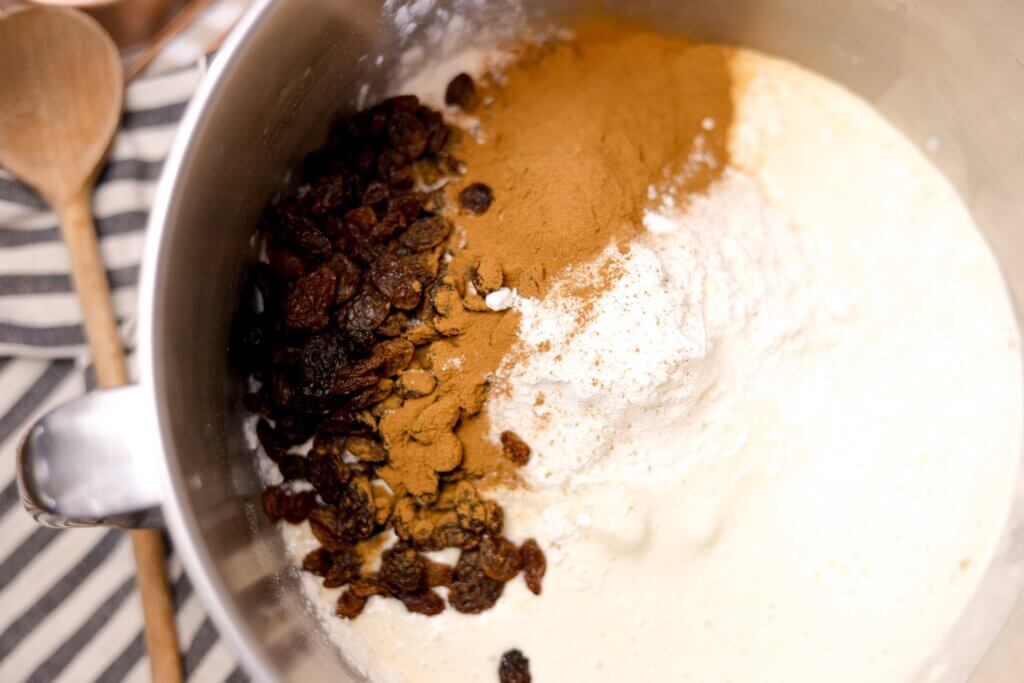
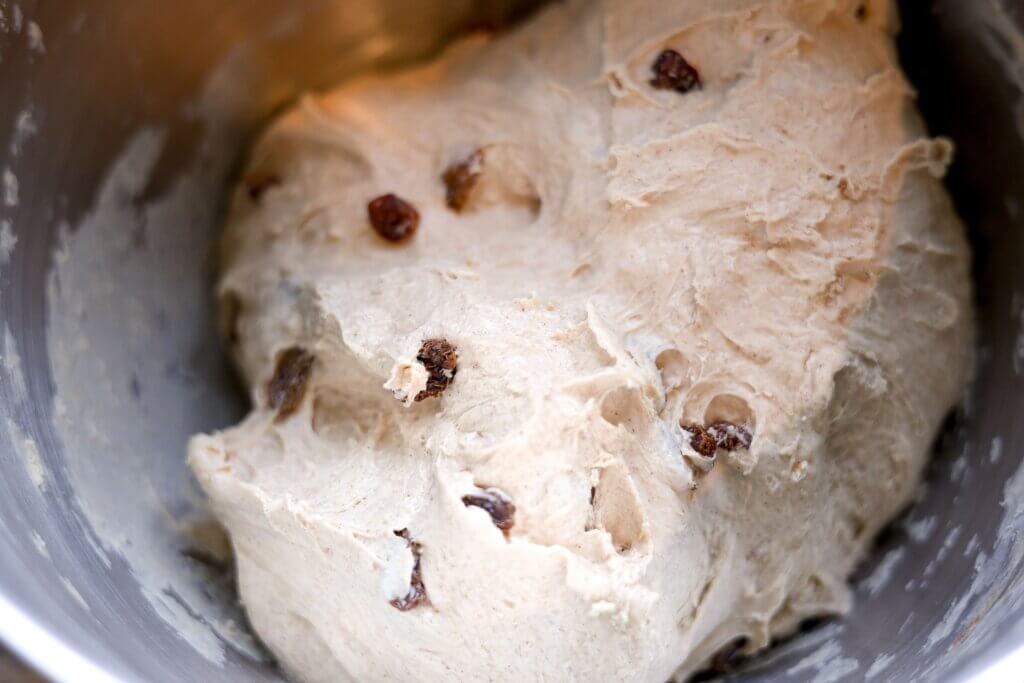
- Mix the Dough: Add all ingredients to the bowl of a stand mixer fitted with a dough hook. Knead on medium speed for 10–15 minutes, until the dough is soft, elastic, and stretches without tearing.
- First Rise: Transfer the dough to a lightly oiled bowl and cover with plastic wrap or a damp towel. Let it rise in a warm spot (around 23°C / 73°F) for 5–7 hours, or until doubled in size.
- Shape the Loaves: Once doubled, turn the dough out onto a lightly floured surface. Divide into two portions. Working with one piece at a time, fold the edges inward, then gently tighten the surface by spinning the loaf toward you.
- Cold Proof: Place each loaf seam-side up in a floured banneton basket. Slip the basket into a large plastic bag, tie it off, and refrigerate overnight for a slow, cold proof.
- Preheat the Oven: The next day, place your Dutch oven inside the oven and preheat to 250°C (500°F) for 1 hour.
- Score and Bake: Turn one loaf out of its banneton onto parchment paper. Score the top with a lame, razor, or sharp knife. Using the parchment, carefully lift the loaf into the preheated Dutch oven. Bake covered for 20 minutes.
- Finish the Bake: Reduce the oven to 235°C (450°F), remove the lid, and bake uncovered for another 15–20 minutes, until golden brown.
- Cool: Remove the bread from the Dutch oven and let it cool completely on a wire rack before slicing.
Baker’s Schedule
Option 1 – Same Day Bake (Bread by Dinner)
- 8 AM – Feed starter
- 12 PM – Mix dough, start bulk rise (5–7 hrs)
- 5 PM – Shape loaves
- 5:30 PM – Second rise (2–3 hrs)
- 7:30 PM – Preheat oven
- 8:30 PM – Bake, then cool on a rack
Best for: Bread ready the same evening.
Option 2 – Overnight Bulk Rise (Bread by Breakfast)
- 10 PM (Day 1) – Feed starter
- 8 AM (Day 2) – Mix dough, bulk rise (5–7 hrs)
- 1 PM – Shape + cold proof overnight
- 8 AM (Day 3) – Bake, then cool on a rack
Best for: Fresh bread in the morning with less same-day work.
FAQ
Tips
1.Use a mature starter:
Make sure your sourdough starter is strong enough to raise bread. If you’ve just made your starter, give it time to mature before using.
2. Hydrate the raisins:
Soak them in warm water for 15–20 minutes before adding. This keeps them plump and prevents them from pulling moisture out of your dough.
3. Adjust hydration as needed:
If the dough feels too dry, add water a tablespoon at a time while mixing.
4. Mind your proofing temperature:
Aim for 70–75°F (21–24°C). Cooler temps mean slower fermentation, so adjust your rise time accordingly.
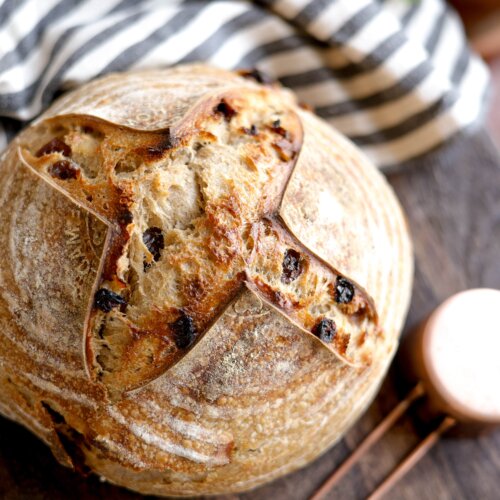
5. Score lightly:
A shallow slash or two is enough to control the loaf’s expansion without collapsing the dough.
Storage
Cinnamon Raisin Sourdough Bread Recipe
Equipment
- Large mixing bowl
- Measuring Cups and Spoons or Kitchen Scale
- Wooden spoon or spatula
- Kitchen Aid
- Sandwich Bread Loaf Pan
- Bench scraper
- Proofing Box
- Bread lame
Ingredients
- 100 g raisins: ⅔ cup
- 900 g flour: 7¼ cups
- 500 g water: 2 cups + 2 tbs
- 3 tbs salt: 3 tbs
- 200 g active starter: ¾ cup + 2 tbs
- 2 tbs cinnamon: 2 tbs
Instructions
- Mix the Dough: Add all ingredients to the bowl of a stand mixer fitted with a dough hook. Knead on medium speed for 10–15 minutes, until the dough is soft, elastic, and stretches without tearing.
- First Rise: Transfer the dough to a lightly oiled bowl and cover with plastic wrap or a damp towel. Let it rise in a warm spot (around 23°C / 73°F) for 5–7 hours, or until doubled in size.
- Shape the Loaves: Once doubled, turn the dough out onto a lightly floured surface. Divide into two portions. Working with one piece at a time, fold the edges inward, then gently tighten the surface by spinning the loaf toward you.
- Cold Proof: Place each loaf seam-side up in a floured banneton basket. Slip the basket into a large plastic bag, tie it off, and refrigerate overnight for a slow, cold proof.
- Preheat the Oven: The next day, place your Dutch oven inside the oven and preheat to 250°C (500°F) for 1 hour.
- Score and Bake: Turn one loaf out of its banneton onto parchment paper. Score the top with a lame, razor, or sharp knife. Using the parchment, carefully lift the loaf into the preheated Dutch oven. Bake covered for 20 minutes.
- Finish the Bake: Reduce the oven to 235°C (450°F), remove the lid, and bake uncovered for another 15–20 minutes, until golden brown.
- Cool: Remove the bread from the Dutch oven and let it cool completely on a wire rack before slicing.
Notes
Instructions
- Mix the Dough: Add all ingredients to the bowl of a stand mixer fitted with a dough hook. Knead on medium speed for 10–15 minutes, until the dough is soft, elastic, and stretches without tearing.
- First Rise: Transfer the dough to a lightly oiled bowl and cover with plastic wrap or a damp towel. Let it rise in a warm spot (around 23°C / 73°F) for 5–7 hours, or until doubled in size.
- Shape the Loaves: Once doubled, turn the dough out onto a lightly floured surface. Divide into two portions. Working with one piece at a time, fold the edges inward, then gently tighten the surface by spinning the loaf toward you.
- Cold Proof: Place each loaf seam-side up in a floured banneton basket. Slip the basket into a large plastic bag, tie it off, and refrigerate overnight for a slow, cold proof.
- Preheat the Oven: The next day, place your Dutch oven inside the oven and preheat to 250°C (500°F) for 1 hour.
- Score and Bake: Turn one loaf out of its banneton onto parchment paper. Score the top with a lame, razor, or sharp knife. Using the parchment, carefully lift the loaf into the preheated Dutch oven. Bake covered for 20 minutes.
- Finish the Bake: Reduce the oven to 235°C (450°F), remove the lid, and bake uncovered for another 15–20 minutes, until golden brown.
-
Cool: Remove the bread from the Dutch oven and let it cool completely on a wire rack before slicing.
- 8 AM – Feed starter
- 12 PM – Mix dough, start bulk rise (5–7 hrs)
- 5 PM – Shape loaves
- 5:30 PM – Second rise (2–3 hrs)
- 7:30 PM – Preheat oven
- 8:30 PM – Bake, then cool on a rack
- Best for: Bread ready the same evening.
- 10 PM (Day 1) – Feed starter
- 8 AM (Day 2) – Mix dough, bulk rise (5–7 hrs)
- 1 PM – Shape + cold proof overnight
- 8 AM (Day 3) – Bake, then cool on a rack
- Best for: Fresh bread in the morning with less same-day work.
Tips
- Use a mature starter: Make sure your sourdough starter is strong enough to raise bread. If you’ve just made your starter, give it time to mature before using.
- Hydrate the raisins: Soak them in warm water for 15–20 minutes before adding. This keeps them plump and prevents them from pulling moisture out of your dough.
- Adjust hydration as needed: If the dough feels too dry, add water a tablespoon at a time while mixing.
- Mind your proofing temperature: Aim for 70–75°F (21–24°C). Cooler temps mean slower fermentation, so adjust your rise time accordingly.
- Score lightly: A shallow slash or two is enough to control the loaf’s expansion without collapsing the dough.
Storage
- Room temperature: Keep it in a bread bag or wrapped in a clean kitchen towel inside a plastic bag for up to 3-4 days.
- Refrigerator: Store in an airtight container or sealed bag for up to a week if you want it to last longer, but it may dry out slightly.
- Freezer: Slice it, wrap each piece in plastic wrap, then place in a freezer bag—good for up to 3 months. Thaw at room temp or toast directly from frozen.


This article may contain affiliate links, which means I make a small commission at no extra cost to you. As an Amazon Associate, I earn from qualifying purchases at no extra cost to you. You can read the full disclosure policy.


