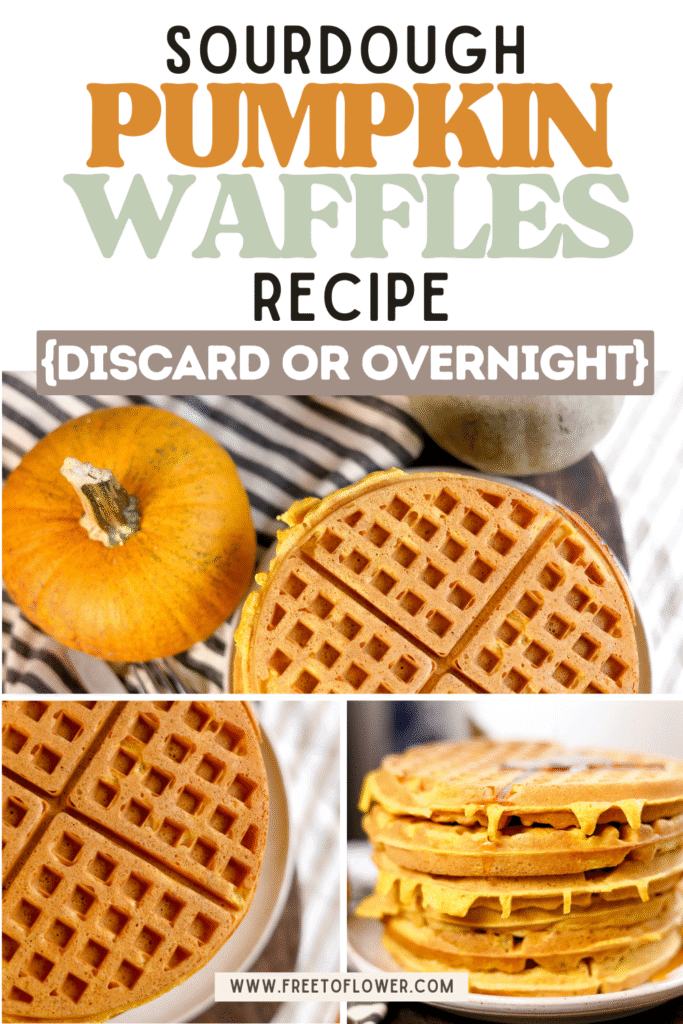
Sourdough Pumpkin Waffles Recipe {Discard or Overnight}
This sourdough pumpkin waffles recipe makes crispy, golden waffles with warm fall spices-perfect for a cozy breakfast or autumn treat.
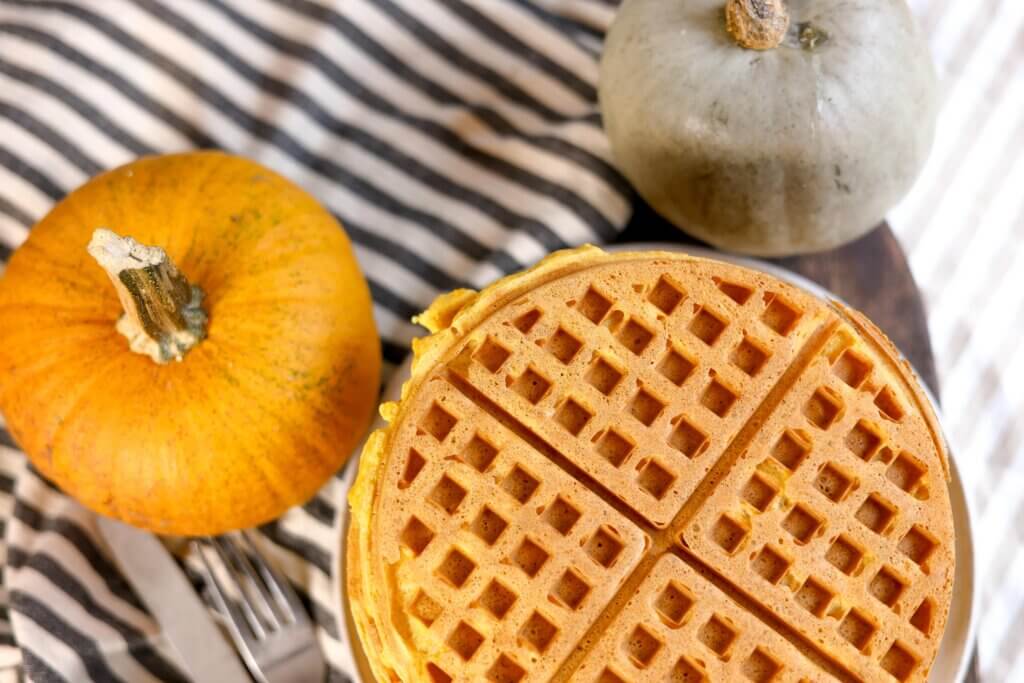
If I had to pick between pumpkin sourdough pancakes and pumpkin sourdough waffles, waffles win every time. There's just something magical about that crisp, golden exterior giving way to a warm, spiced, and tender center. Top them with a cloud of fresh whipped cream, a sprinkle of toasted pecans, and a drizzle of warm maple syrup, and you've got a plate that tastes like pure autumn comfort.
This sourdough pumpkin waffles recipe delivers exactly that-crispy, golden waffles with a chewy, cinnamon-scented interior, full of rich fall flavor. Whether you make them for a cozy weekend breakfast or as a special treat any time of year, these waffles are a perfect blend of texture, spice, and sweetness.

Why You'll Love This Recipe
- Ridiculously easy to make: These sourdough pumpkin waffles recipe are so simple, you might wonder why there's even a recipe. Mix everything together, pour it into the waffle maker, and let it do its thing. If you choose the overnight version, it's even less work-most of the magic happens while you're busy with other important tasks, like making coffee or having a one-sided conversation with your dog.
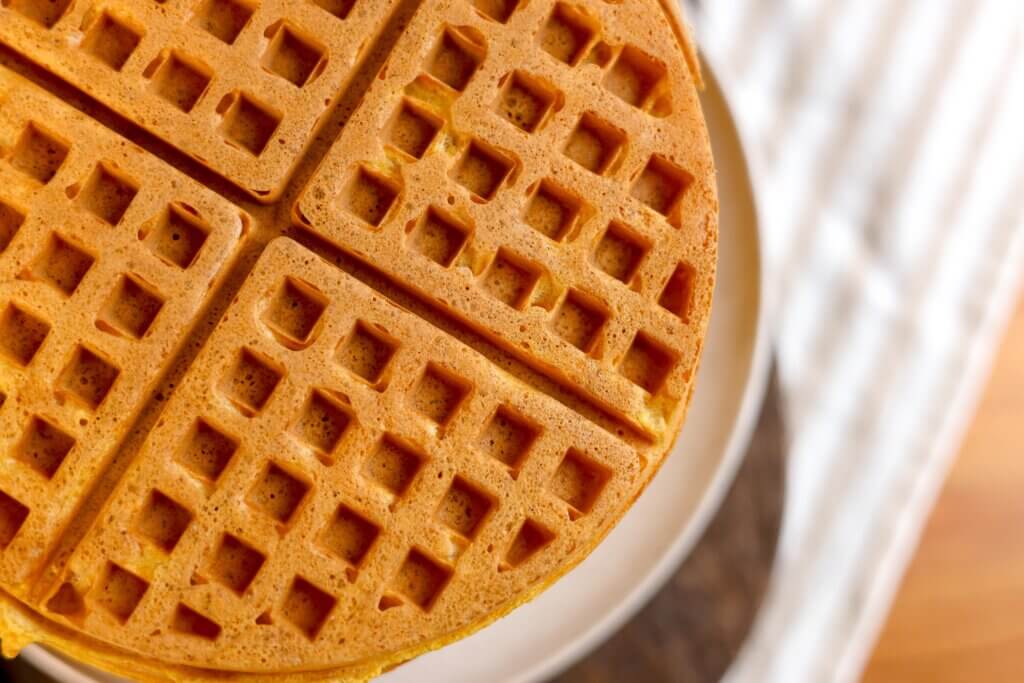
- Cozy flavor in every bite: Crispy on the outside, fluffy on the inside, and loaded with pumpkin, cinnamon, and pumpkin pie spice. Top with warm maple syrup or a dollop of whipped cream, and you've got a breakfast that feels like a warm hug-whether it's October or July.
- A smart way to use sourdough starter: Don't toss that extra starter-turn it into something amazing. The sourdough adds just enough tang and texture to make these sourdough pumpkin waffles recipe unforgettable, and it's a satisfying way to get every last bit of goodness out of your jar.
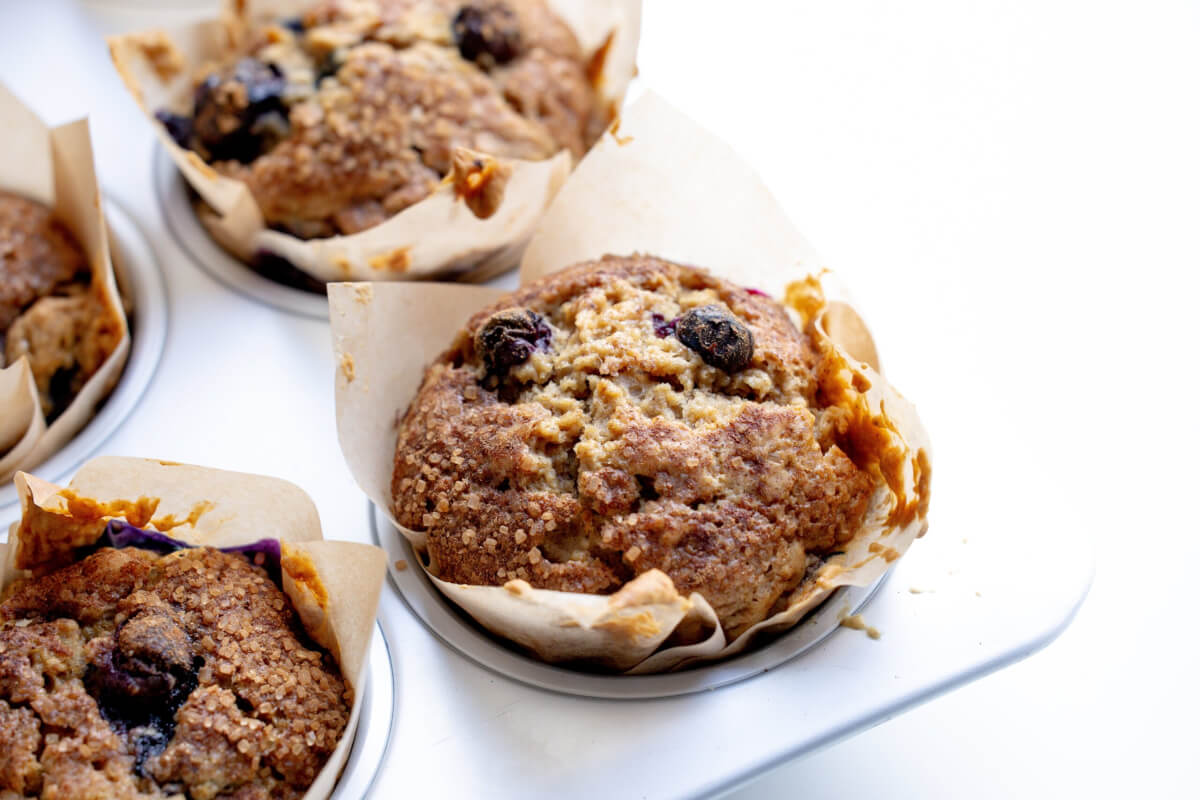
Love pumpkin? You might also enjoy my sourdough pumpkin scones for another cozy treat, or try a classic sourdough waffles recipe for a year-round favorite.
What You'll Need
Tools

Instructions
To Cook the Same Day
- Add all ingredients to a large bowl and mix until combined.
- Let the batter rest for 20 minutes while your waffle iron heats.
- Pour about ½ cup batter into the hot waffle iron and cook for 3-5 minutes or until golden.
- Serve with syrup, spices, or toasted pecans.
To Ferment Batter Overnight:
- In a large bowl, whisk together sourdough starter, milk, sugar, pumpkin spice, melted butter, and flour until smooth.
- Cover and let ferment at room temperature for up to 12 hours.
- In the morning, add eggs, baking soda, baking powder, pumpkin puree, and salt. Stir well.
- Rest the batter for 20 minutes while preheating your waffle iron.
- Cook as above, 3-5 minutes per side.
FAQ
Tips
1. Use an active starter or fresh discard:
Make sure your active starter is bubbly and fed within 4-12 hours, or that your discard is less than a week old for balanced flavor. This helps control both the rise and the tanginess of your waffles.
2. Check the batter consistency:
The batter should be thick but still pourable. If it's too thick, add 5-10 ml of milk. If it's too thin, add 5-10 g of flour, especially when working with spelt flour, which can absorb liquids differently.
3. Don't overmix:
Combine the wet and dry ingredients just until mixed. A few lumps are fine and will help keep the waffles light and crisp rather than dense.
4. Preheat the waffle iron thoroughly:
Give your waffle iron 5-10 minutes to heat up completely before adding the batter. This ensures the waffles cook evenly and develop a crispy, golden exterior. Lightly grease even if your waffle maker is nonstick.
5. Avoid opening too early:
Checking for doneness too soon can cause the batter to separate and stick. Wait a few minutes before opening the waffle iron for the first time so the waffles hold together.
Storage
📖 Recipe

Sourdough Pumpkin Waffles Recipe {Discard or Overnight}
Equipment
- Large mixing bowl
- Measuring cups and spoons
- Whisk or electric whisk
- Spatula
- Waffle maker
- Cooling rack
Ingredients
- ¾ cup 200g sourdough starter (active or discard)
- 1 cup 240ml milk
- 2 tablespoon 25g brown sugar
- ½ cup pumpkin puree
- ½ teaspoon 2.5g vanilla extract
- 2 tablespoon 56g melted butter
- 1.5 cups 180g all-purpose spelt flour (or regular all-purpose)
- 2 large eggs
- 1 teaspoon 5g baking soda
- 2 teaspoon 8g baking powder
- ¼ teaspoon 1.5g salt
- 1 tablespoon pumpkin pie spice
- 1 teaspoon cinnamon
Instructions
To cook the same day:
- Add all ingredients to a large bowl and mix until combined.
- Let the batter rest for 20 minutes while your waffle iron heats.
- Pour about ½ cup batter into the hot waffle iron and cook for 3-5 minutes or until golden.
- Serve with syrup, spices, or toasted pecans.
To ferment batter overnight:
- In a large bowl, whisk together sourdough starter, milk, sugar, pumpkin spice, melted butter, and flour until smooth.
- Cover and let ferment at room temperature for up to 12 hours.
- In the morning, add eggs, baking soda, baking powder, pumpkin puree, and salt. Stir well.
- Rest the batter for 20 minutes while preheating your waffle iron.
- Cook as above, 3-5 minutes per side.
Notes
TIPS
Use an active starter or fresh discard: Make sure your active starter is bubbly and fed within 4–12 hours, or that your discard is less than a week old for balanced flavor. This helps control both the rise and the tanginess of your waffles. Check the batter consistency: The batter should be thick but still pourable. If it’s too thick, add 5–10 ml of milk. If it’s too thin, add 5–10 g of flour, especially when working with spelt flour, which can absorb liquids differently. Don’t overmix: Combine the wet and dry ingredients just until mixed. A few lumps are fine and will help keep the waffles light and crisp rather than dense. Preheat the waffle iron thoroughly: Give your waffle iron 5–10 minutes to heat up completely before adding the batter. This ensures the waffles cook evenly and develop a crispy, golden exterior. Lightly grease even if your waffle maker is nonstick. Avoid opening too early: Checking for doneness too soon can cause the batter to separate and stick. Wait a few minutes before opening the waffle iron for the first time so the waffles hold together.STORAGE
- Room Temperature: Keep on a wire rack for up to 2 hours.
- Refrigeration: Store up to 3-4 days in an airtight container with parchment between waffles.
- Freezing: Freeze up to 2-3 months in a freezer-safe bag. Reheat in the oven or toaster for crisp results.


Comments
No Comments