Homemade Strawberry Popsicles Recipe-With Plain Greek Yogurt
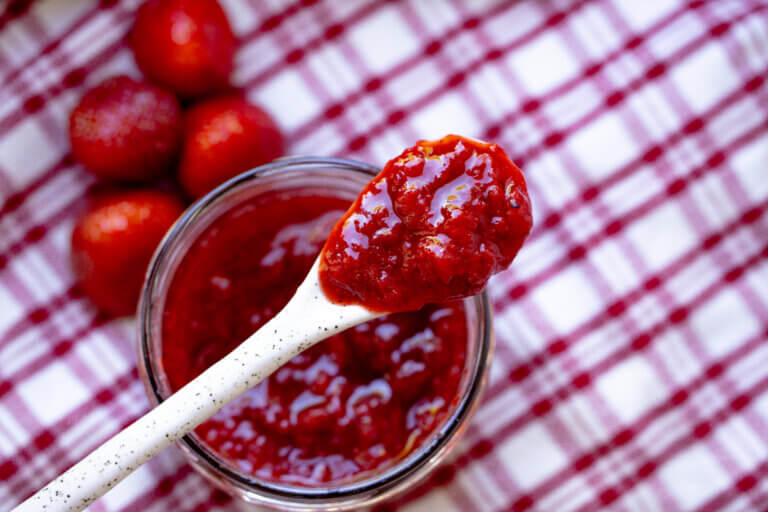
Strawberry Popsicles blend fresh berries, Greek yogurt, and honey into a creamy, refreshing summer treat you can make in minutes and freeze in popsicle molds until firm.

When one of my kids was younger, he had a serious popsicle addiction. The little guy made me add popsicles to the cart every single time we went grocery shopping. He wanted them in the morning, at noon (hot summer day or not), and sometimes even for breakfast.
At some point, I tried telling him the stores weren’t carrying pops anymore, and I got an eye roll, which I probably deserved. I got tired of buying them, so when strawberry season rolled around, I decided to try this homemade strawberry popsicle recipe. Find the recipe card below.
We always had a bunch in the freezer, and they disappeared faster than I could make them. He’s older now and doesn’t crave them like he used to, but guess what? Now I’m the one hooked. I eat them all the time on hot summer days, and the best part? I don’t have to run to the store every time the craving hits.
If you’ve got strawberries, a little yogurt, and something sweet, you’re nearly there. These fresh fruit popsicles are quick to make, use everyday ingredients you probably already have, and taste way better than store-bought. Give them a try-you might get hooked, too. And if you’re watching your sugar, I’ll even share a tip on how to make sugar-free popsicles.

Why You’ll Love This Recipe
- Naturally pretty pink color from real strawberries: These delicious strawberry popsicles get their color from ripe strawberries, not artificial dyes or additives. Many store-bought popsicles rely on synthetic coloring like Red 40 to achieve a bright, uniform shade. When you make them at home, the color may vary slightly depending on the ripeness of your fruit, but that natural variation is part of the appeal. You end up with a sweet treat that looks beautiful and tastes like real fruit, because it actually is.
- Anyone can make these strawberry popsicles: You only need three simple ingredients: strawberries, plain Greek yogurt, and honey. I usually have them on hand, and you probably do too. All you’ve got to do is blend, pour, and freeze.
- Flavor, however you want it: The best part about making your own strawberry popsicles is that you get to control the flavor. Make them as sweet or tangy as you like, or add more honey. Squeeze in some lemon or stir in chopped strawberries for extra texture. Throw in a handful of blueberries to give the pops a slightly deeper, fruitier taste. If your berries are sweet enough, you can even skip the honey and go totally sugar-free. The popsicles will be less sweet, but you’ll still get the perfect summer treat with unmistakable fresh strawberry flavor.
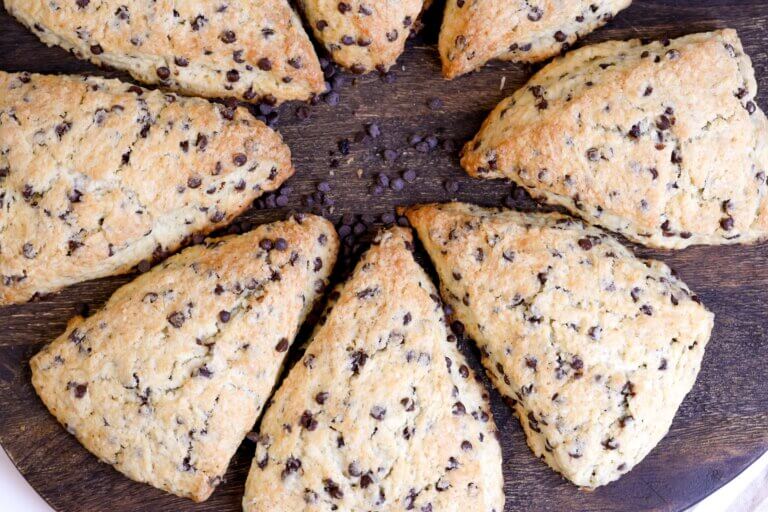
Want more strawberry recipes? Start with these easy strawberry sourdough scones. I also love baking strawberry sourdough quick bread and strawberry muffins. They’re simple, full of flavor, and a great way to use up summer’s sweetest berries.
What You’ll Need
Tools

Instructions
- Prep your ingredients. Hull and slice your strawberries. If you’re using frozen berries, let them thaw first so they blend smoothly.
- Blend it all up. Add the strawberries, Greek yogurt, and honey to a blender. If you want, add a splash of vanilla extract or lemon juice for extra flavor. Blend until completely smooth.
- Customize if you want. This part’s optional, but I like to stir in some chopped strawberries for a little texture. You can skip this step if you’d rather keep it smooth. It’s personal preference.
- Pour into popsicle molds. Carefully pour the mixture into your molds, leaving a little space at the top since the popsicles will expand slightly as they freeze. Insert the sticks.
- Freeze. I freeze mine for at least 4 to 6 hours, but honestly, I get the best results when I just leave them in overnight. If you try to unmold them too early, they’ll likely be slushy and fall apart.
- Unmold and enjoy. When you’re ready to eat a strawberry popsicle, run the molds under warm water for a few seconds to help release them cleanly. No tugging required.

FAQ

Tips for the Best Homemade Strawberry Popsicles
1. Use very ripe strawberries:
Ripe, in-season berries give the best flavor and natural sweetness. If your berries are bland, your popsicles will be too, even with sweetener.
2. Strain the blended mixture for a smoother texture:
If you want silky popsicles without seeds or pulp, pour the mixture through a fine-mesh strainer before freezing.
3. Leave a little space in the molds:
The mixture expands as it freezes, so leave about ¼ inch at the top to prevent overflow and keep the popsicle sticks centered while freezing.
4. Freeze overnight for the firmest popsicles:
4–6 hours is okay, but overnight freezing usually gives better texture and a cleaner unmold.
5. Use warm water, not hot, to release the popsicles:
Run the molds under warm water for 10–15 seconds, then gently wiggle the sticks to release. Don’t force them. just let the heat do the work.
6. Chill the mixture before freezing (optional, but helpful):
I’ve found that letting the blended ingredients rest in the fridge for about an hour helps them freeze faster and more evenly in the mold.
7. Mix chopped berries in just before pouring.
Want visible chunks of fruit in your strawberry popsicles for looks and texture? Then don’t blend chopped berries, as they’ll get pulverized. Instead, fold them in gently after blending everything else.
8. Use full-fat coconut milk for dairy-free popsicles:
If you’re skipping the yogurt, full-fat coconut milk gives a creamy texture. Lighter versions tend to freeze icy and hard.
9. Taste the mixture before freezing:
Strawberries can vary a lot in sweetness. Give it a quick taste and adjust the sweetener if needed before pouring into the molds.
How to Store Homemade Popsicles

Homemade Strawberry Popsicles Recipe-With Plain Greek Yogurt
Equipment
- Blender
- Measuring cups and spoons
- Popsicle molds
- Popsicle sticks
- Knife and cutting board
- Spatula or spoon
- Spouted container or funnel
- Freezer
- Warm water
Ingredients
- 2 cups fresh strawberries
- 1 cup plain Greek yogurt
- 2 tablespoons honey
Instructions
- Prep your ingredients. Hull and slice your strawberries. If you’re using frozen berries, let them thaw first so they blend smoothly.
- Blend it all up. Add the strawberries, Greek yogurt, and honey to a blender. If you want, add a splash of vanilla extract or lemon juice for extra flavor. Blend until completely smooth.
- Customize if you want. This part’s optional, but I like to stir in some chopped strawberries for a little texture. You can skip this step if you’d rather keep it smooth. It’s personal preference.
- Pour into popsicle molds. Carefully pour the mixture into your molds, leaving a little space at the top since the popsicles will expand slightly as they freeze. Insert the sticks.
- Freeze. I freeze mine for at least 4 to 6 hours, but honestly, I get the best results when I just leave them in overnight. If you try to unmold them too early, they’ll likely be slushy and fall apart.
- Unmold and enjoy. When you’re ready to eat a strawberry popsicle, run the molds under warm water for a few seconds to help release them cleanly. No tugging required.
Notes
Tips for the Best Homemade Strawberry Popsicles
Use very ripe strawberries: Ripe, in-season berries give the best flavor and natural sweetness. If your berries are bland, your popsicles will be too, even with sweetener. Strain the blended mixture for a smoother texture: If you want silky popsicles without seeds or pulp, pour the mixture through a fine-mesh strainer before freezing. Leave a little space in the molds: The mixture expands as it freezes, so leave about ¼ inch at the top to prevent overflow and keep the popsicle sticks centered while freezing. Freeze overnight for the firmest popsicles: 4–6 hours is okay, but overnight freezing usually gives better texture and a cleaner unmold. Use warm water, not hot, to release the popsicles: Run the molds under warm water for 10–15 seconds, then gently wiggle the sticks to release. Don’t force them. just let the heat do the work. Chill the mixture before freezing (optional, but helpful): I’ve found that letting the blended ingredients rest in the fridge for about an hour helps them freeze faster and more evenly in the mold. Mix chopped berries in just before pouring. Want visible chunks of fruit in your strawberry popsicles for looks and texture? Then don’t blend chopped berries, as they’ll get pulverized. Instead, fold them in gently after blending everything else. Use full-fat coconut milk for dairy-free popsicles: If you’re skipping the yogurt, full-fat coconut milk gives a creamy texture. Lighter versions tend to freeze icy and hard. Taste the mixture before freezing: Strawberries can vary a lot in sweetness. Give it a quick taste and adjust the sweetener if needed before pouring into the molds.How to Store Homemade Popsicles
Room temperature: These popsicles should never be stored at room temperature. Because they contain Greek yogurt, they’re perishable and need to stay frozen. If they’re left out on the counter, they’ll start to melt within 10–15 minutes, and bacteria can grow quickly after two hours, even faster on a hot day. If you accidentally leave them out, don’t refreeze them. Just toss them and make a new batch. Refrigeration: Refrigerating these yogurt popsicles just turns them into a soupy yogurt-strawberry mess. They lose their shape, the texture goes off, and they’re not safe to refreeze. If you’re not ready to eat them, just keep them frozen. I rarely have that problem, though, because I’m totally addicted and not even a little ashamed. Freezer storage: These creamy popsicles store best in the freezer for up to 2 months. Keep them in their molds, or transfer them to a freezer-safe bag or airtight container once fully frozen. Make sure they’re sealed well so they don’t absorb freezer smells or get icy on the outside. When you’re ready for one, run the mold (or wrapped popsicle) under warm water for about 10–15 seconds. That helps release them cleanly without breaking or pulling the stick out.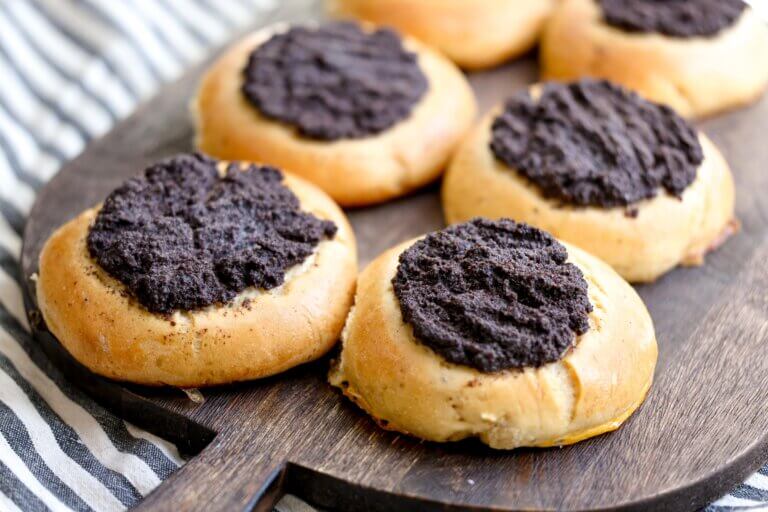

This article may contain affiliate links, which means I make a small commission at no extra cost to you. As an Amazon Associate, I earn from qualifying purchases at no extra cost to you. You can read the full disclosure policy.